Affiliate disclosure: This tutorial contains affiliate links. As an Amazon Associate I earn from qualifying purchases. Elegant Creators may earn a commission at no additional cost to you.
This luxury birthday dessert table uses one scalloped backdrop, a centered linen table, two fluted pedestals and a controlled raspberry-coral floral palette. The secret is measurement: secure the backdrop first, establish the service path, place empty stands and only then add desserts and flowers.
Measurements and layout
Use a backdrop approximately 7 feet tall by 5 feet wide, a 6-foot table 30 inches in front of it and two 40-to-44-inch fluted pedestals outside the table corners. Preserve at least 36 inches behind or beside the display for service, and keep a wider accessible guest route where venue rules require it.
Essential materials
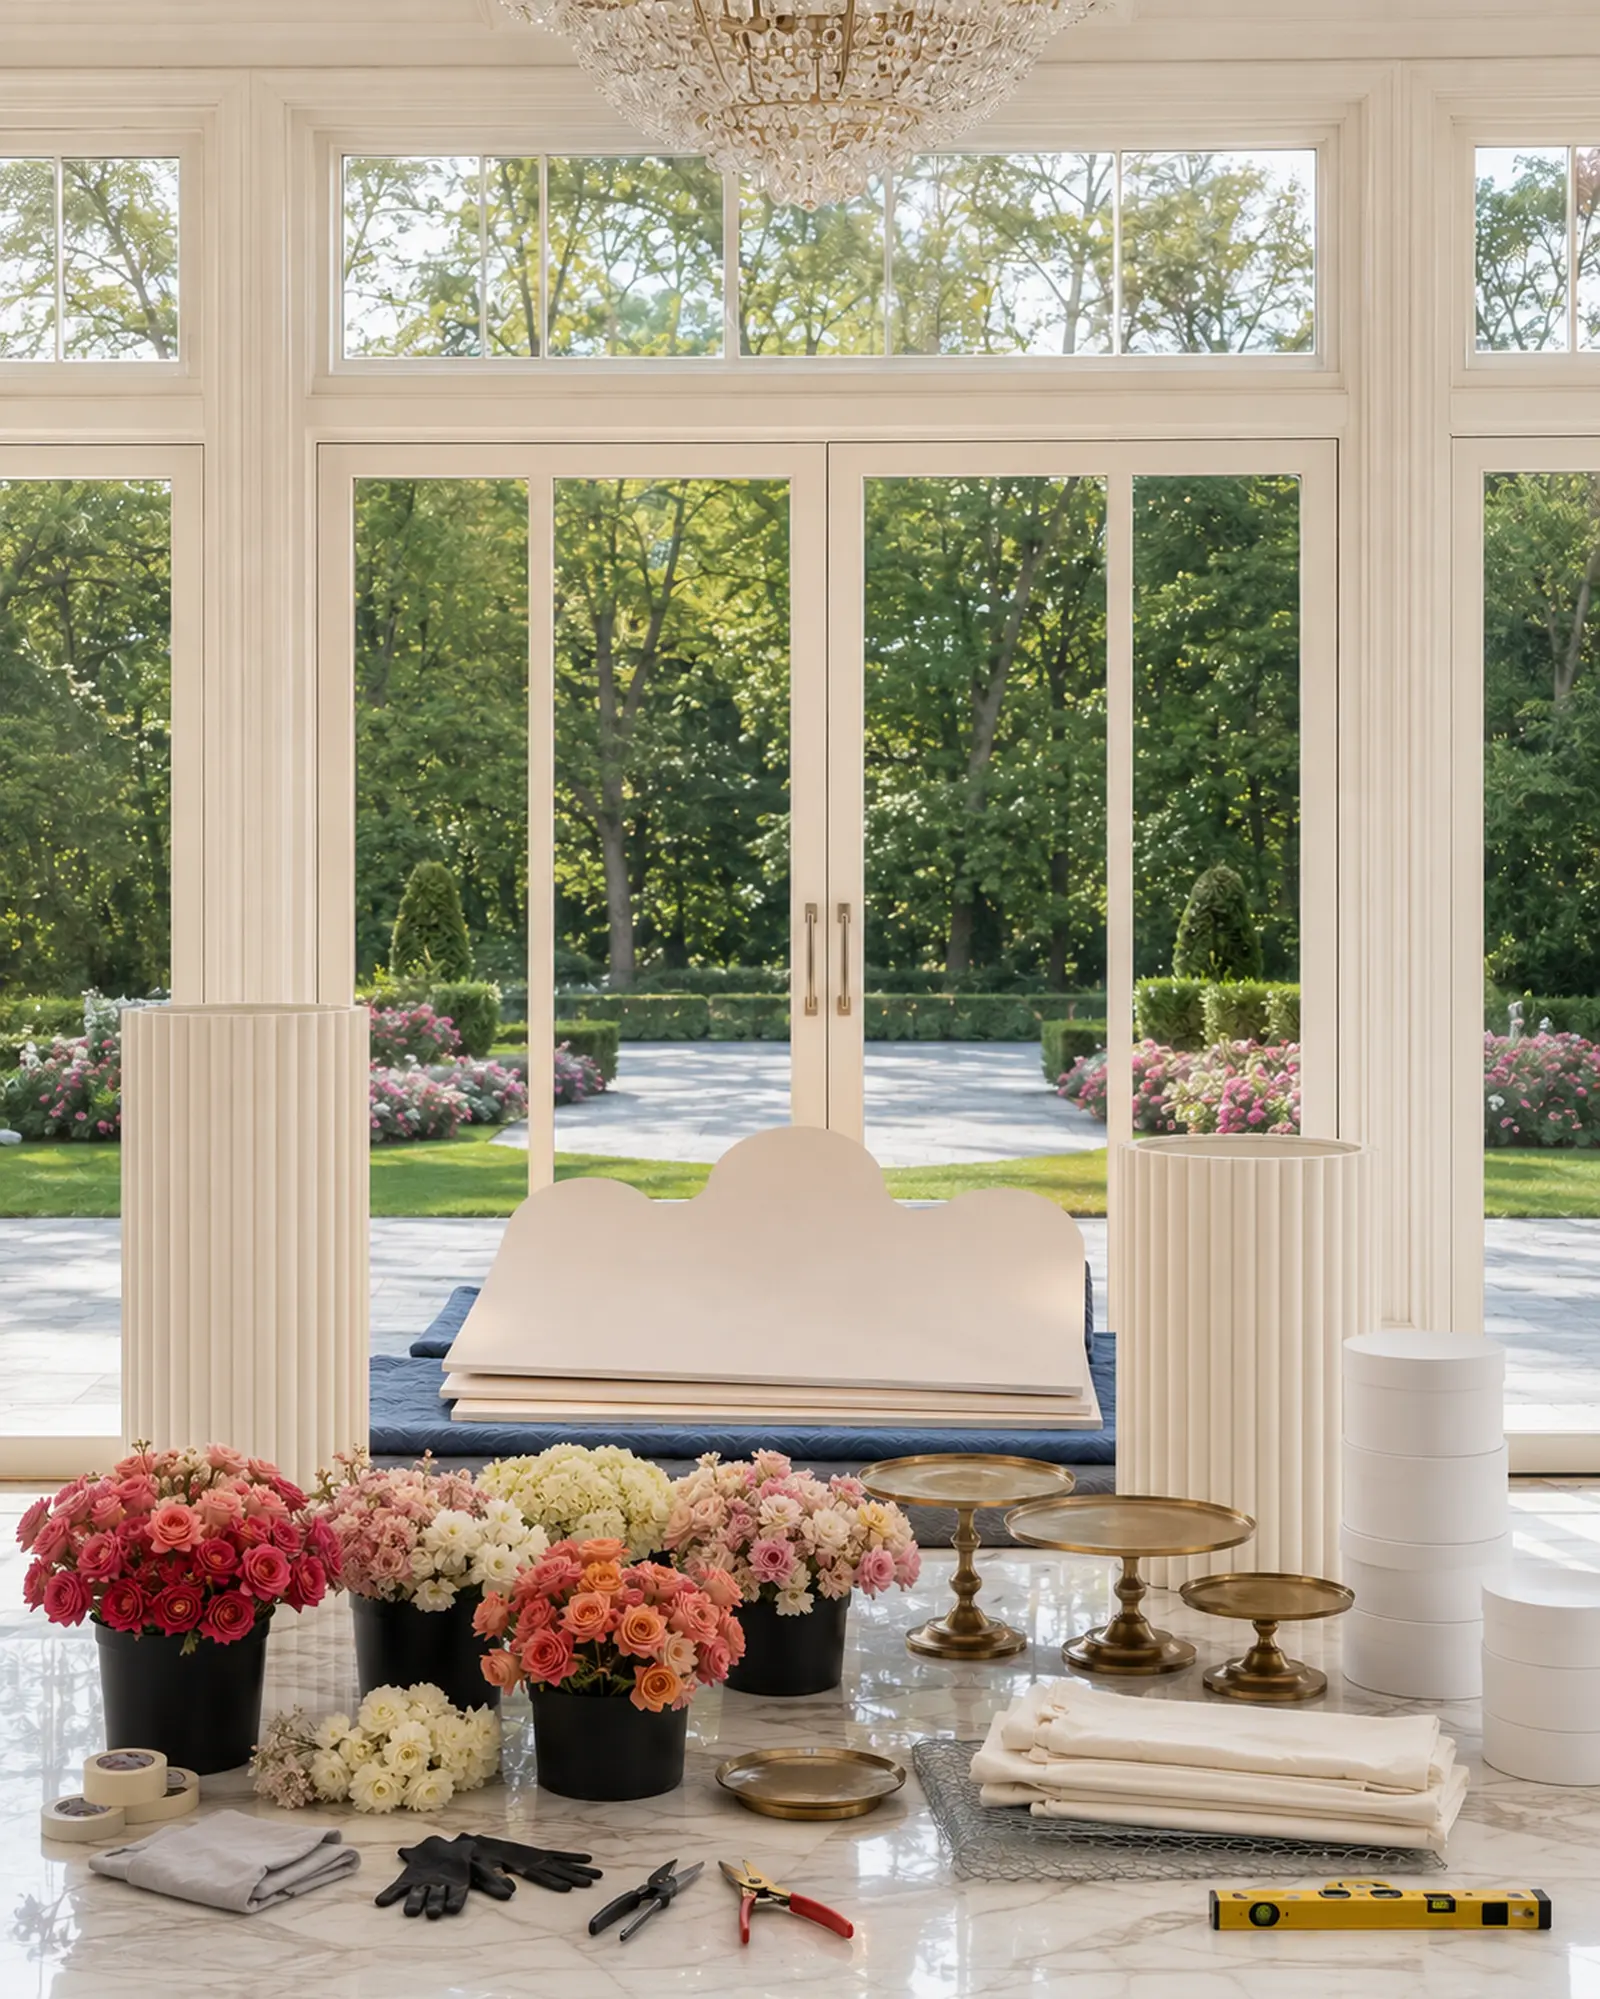
- Stable scalloped backdrop with manufacturer-rated feet and ballast; two fluted pedestal rentals; ivory linen sized to reach the floor without pooling.
- Three food-safe gold cake stands — Check current price on Amazon (affiliate link).
- Low floral vessels, coated chicken wire, waterproof tape and floral snips — Check current price on Amazon (affiliate link).
- Level, tape measure, painter’s tape, nonslip pads, gloves, cleaning cloths, food-safe trays and covered dessert boxes — Check current price on Amazon (affiliate link).
- Estimated florals: 24 raspberry roses, 24 coral/apricot roses, 18 blush spray roses, 18 ivory blooms, 12 airy filler stems and 12 greenery stems.
Optional upgrades
Add custom backdrop lettering, premium garden roses, mirrored risers or a matching welcome arrangement. Keep logos and food labels separate from the mechanics.
Step 1: Prepare before guests arrive
Condition flowers in clean buckets, test backdrop hardware and inspect rented pedestals. Wash or line food-contact surfaces according to the product instructions. Keep desserts refrigerated or protected until the display is structurally complete.
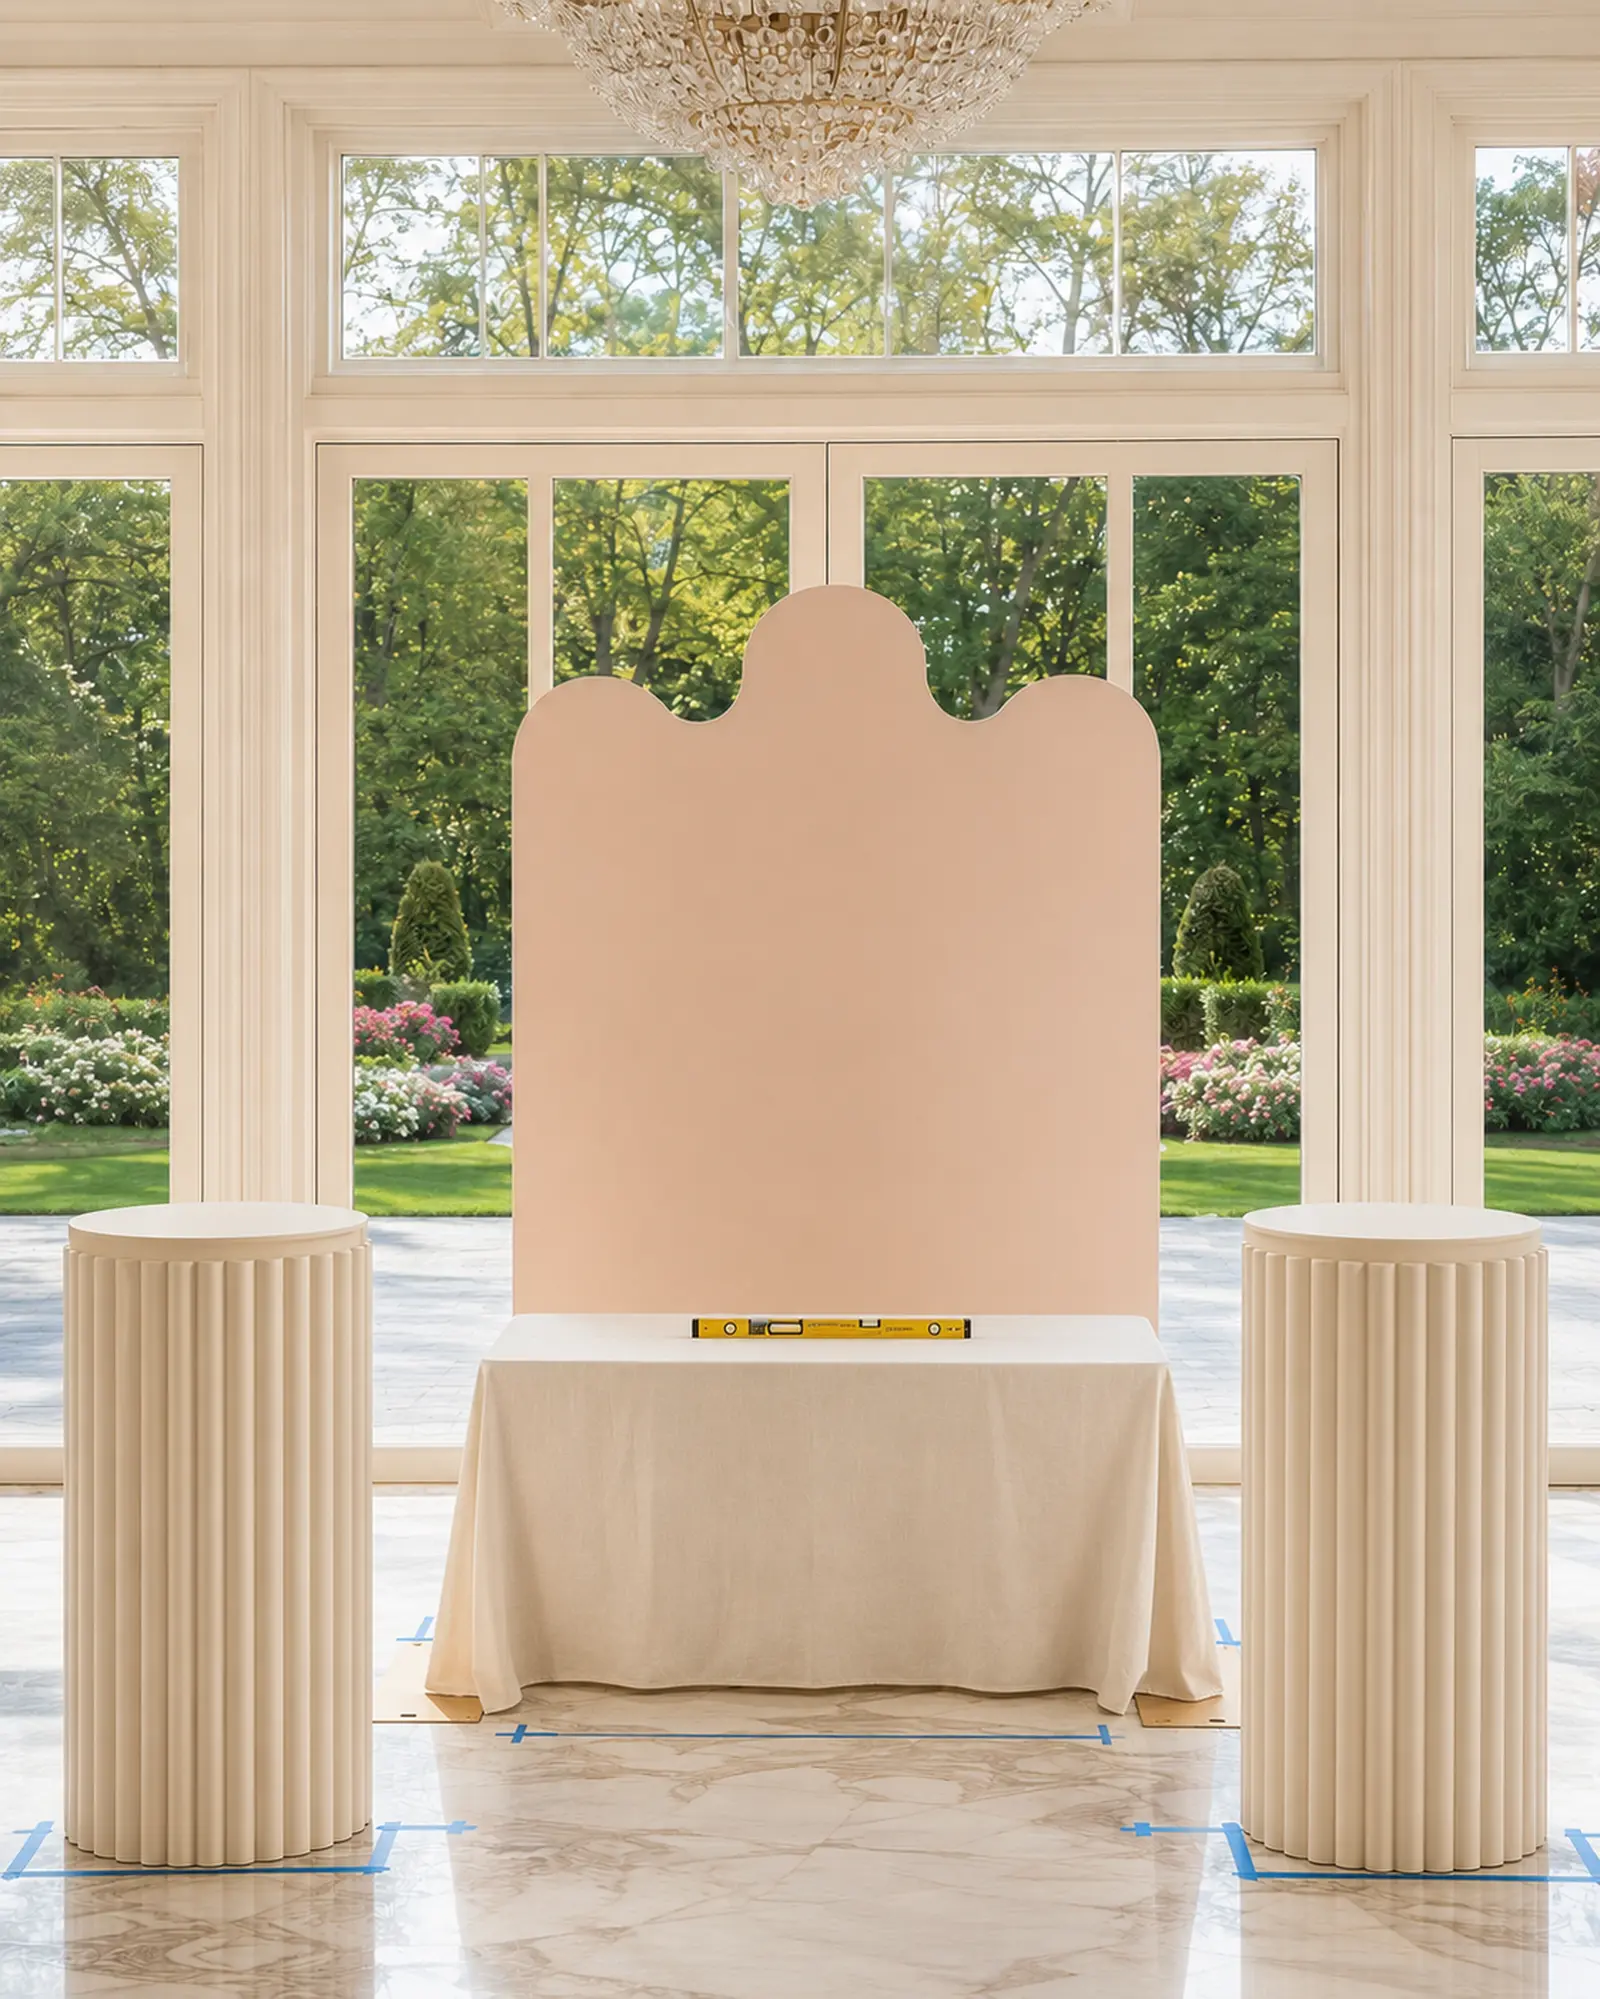
Step 2: Build and measure the structure
Assemble the backdrop to its manufacturer’s directions, lock the feet and add approved concealed ballast. Center the table, steam the linen and tape temporary floor marks only with venue permission. Level every pedestal and add nonslip pads. Confirm the backdrop cannot fall toward the food or guest route.
Step 3: Plan the tabletop in empty zones
Place the cake stand on the centerline. Arrange shorter stands in staggered heights, keeping at least 2 inches between platters and 4 inches around the cake. Leave an open replenishment zone at one side. Photograph the empty layout so staff can restore it after service.
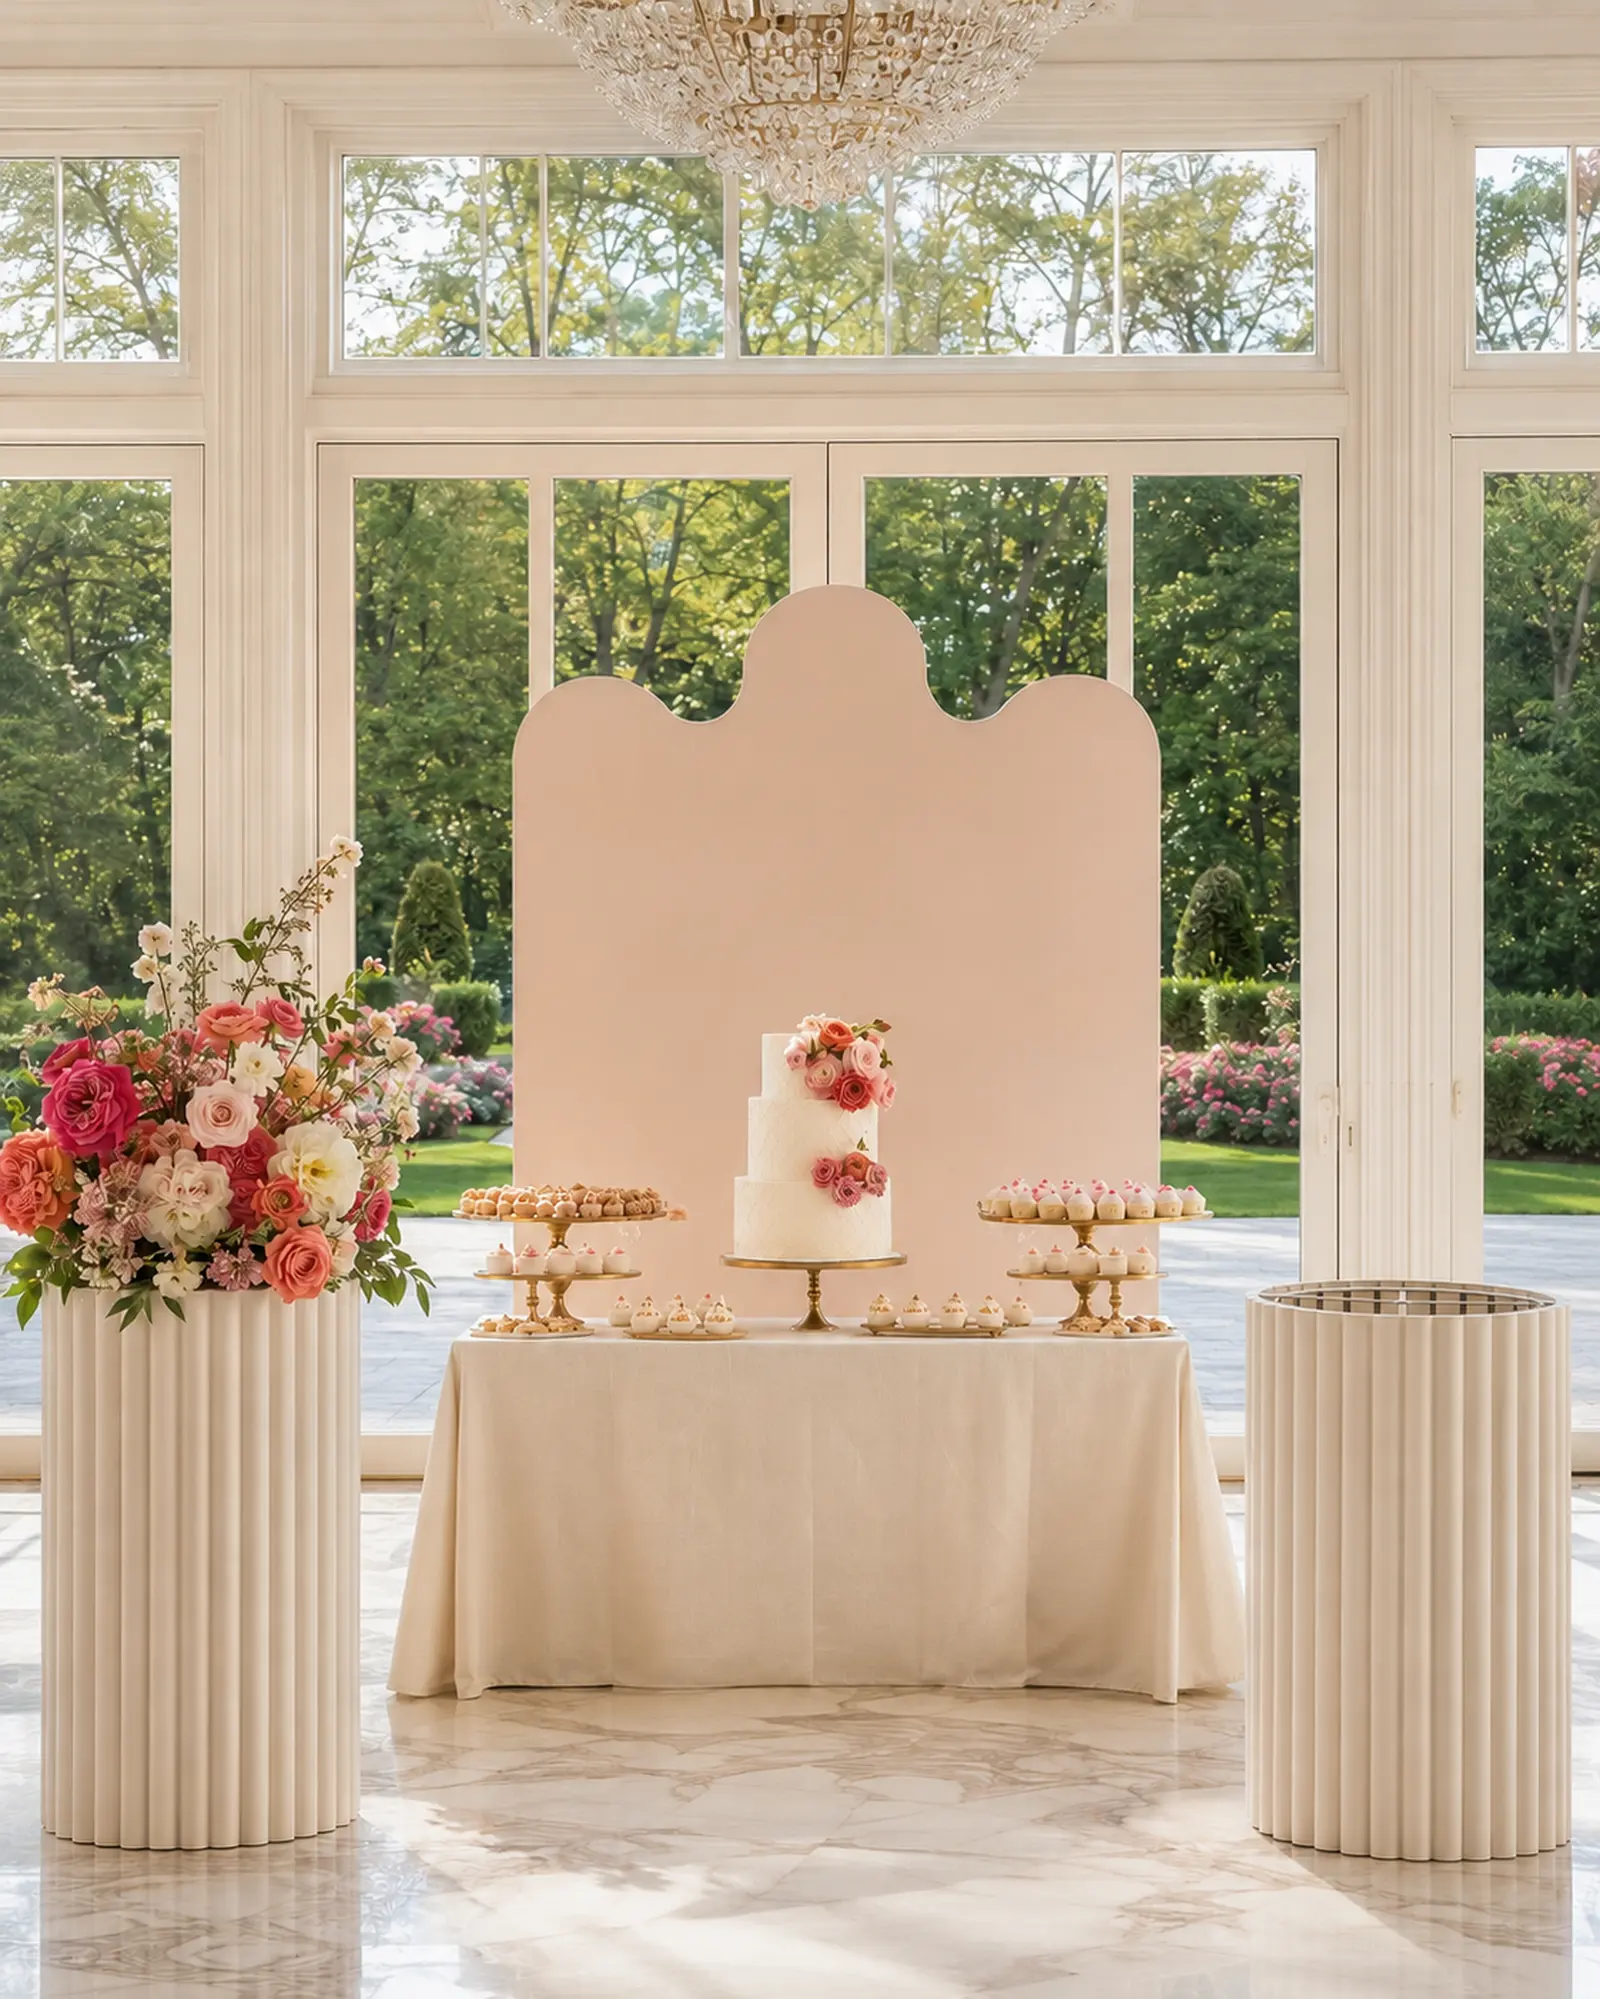
Step 4: Add cake, desserts and flowers
Center the cake and place duplicate dessert types in balanced groups rather than a single row. Build floral mechanics inside waterproof vessels. Start with greenery, add raspberry focal blooms low, then coral and apricot, and finish with blush and ivory highlights. Rotate between arrangements so the palette remains consistent.
Step 5: Final styling and service check
Hide mechanics, remove petals and fingerprints, align stands and confirm every dessert is protected and labeled as required. Walk the guest route, open nearby doors and test the staff replenishment path. Keep flowers from touching uncovered food.
Food and installation safety
- Follow local food-handling rules, bakery storage guidance and allergy-labeling requirements.
- Use only food-safe trays or barriers; decorative stands are not automatically food-safe.
- Secure backdrop, pedestals and heavy cake stands before loading them.
- Keep water, floral chemicals, mechanics and snips away from desserts.
- Never place the cake where direct sun or an HVAC vent can destabilize it.
Budget, standard and luxury versions
- Budget: one backdrop, home table with fitted linen, three stands and two compact floral arrangements.
- Standard: rented fluted pedestals, full dessert assortment and six coordinated floral vessels.
- Luxury: custom panel finish, premium florals, designed cake, professional pastry service, lighting and strike crew.
Price rentals, food, flowers, mechanics, delivery, setup, refrigeration, staff, teardown, cleaning, overhead and profit separately. Use the Elegant Creators calculator rather than guessing from another decorator’s package.
Troubleshooting
- Table feels crowded: remove one stand and repeat fewer dessert varieties.
- Backdrop looks small: raise the visual center with the cake and keep flowers lateral, not piled in front.
- Florals dominate: lower stems and repeat more ivory between saturated colors.
- Linen wrinkles: steam before food arrives and secure the rear hem away from feet and wheels.
Frequently asked questions
How many desserts per guest?
Ask your caterer or baker to calculate servings based on dessert size, event length and whether cake is served separately.
Can faux flowers be used?
Yes, if they are clean and kept from direct food contact. Premium faux flowers also help during long setup windows.
How early should setup begin?
Complete structure and nonperishable décor first. Add temperature-sensitive desserts as close to service time as the bakery recommends.
Where can I find rentals?
Browse the vendors list and verify load limits, sizes, delivery windows and cleaning rules.
Final reveal
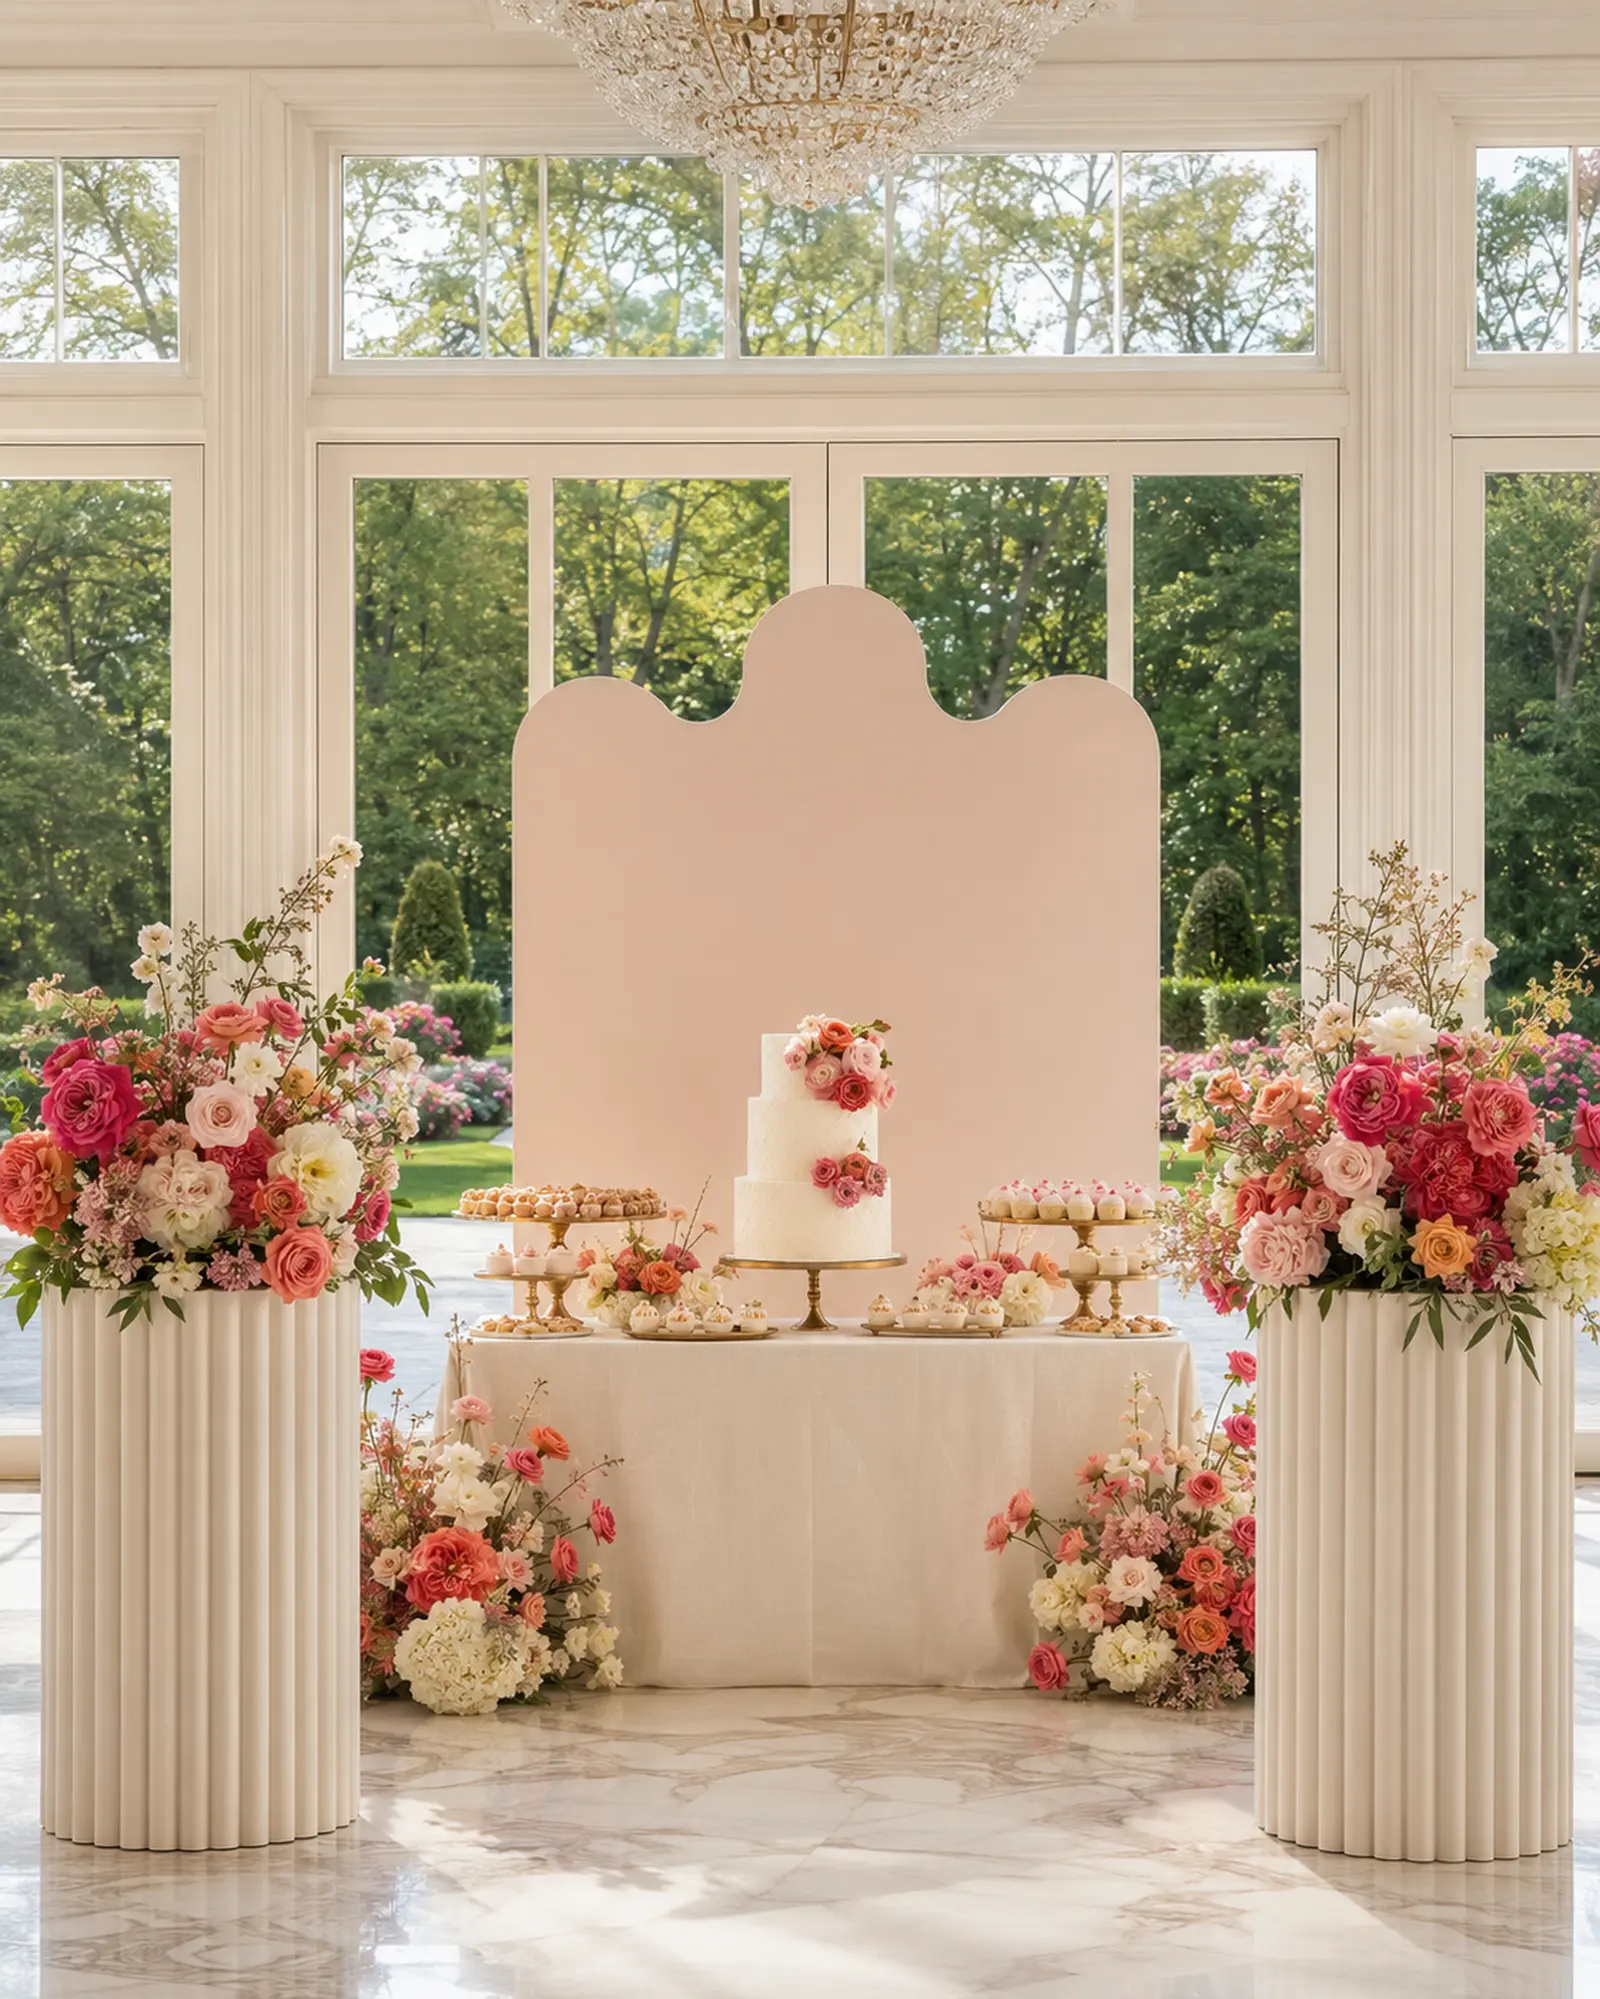
Share your dessert-table plan inside the Elegant Creators community and save this tutorial for event day.