Affiliate disclosure: As an Amazon Associate I earn from qualifying purchases. This guide may contain affiliate links at no additional cost to you.
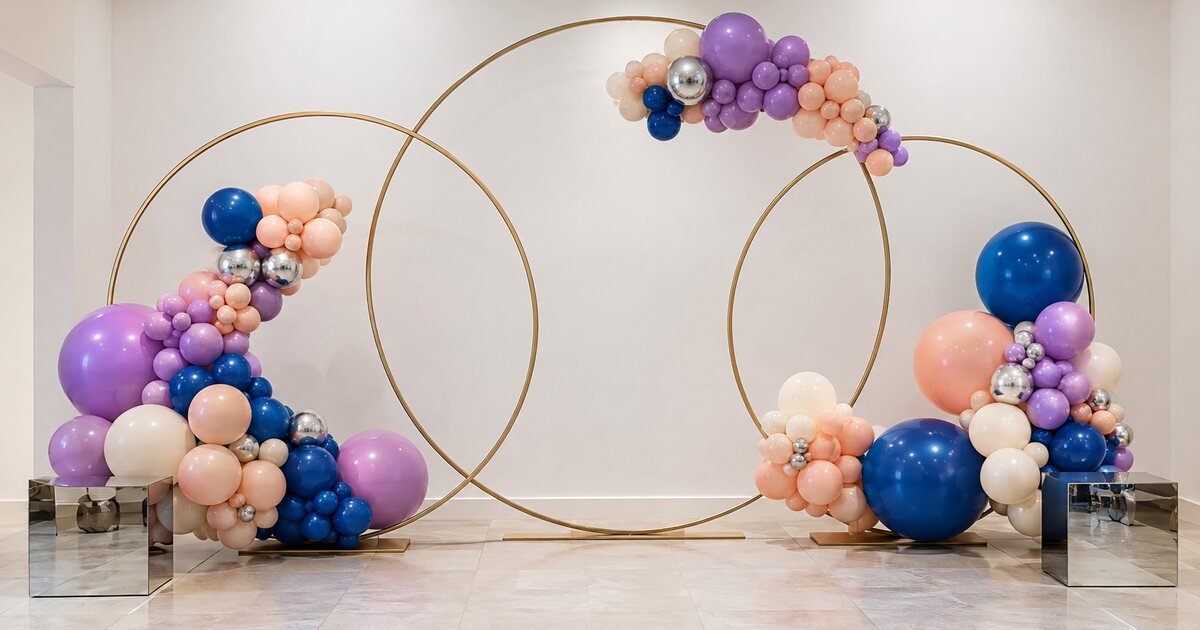
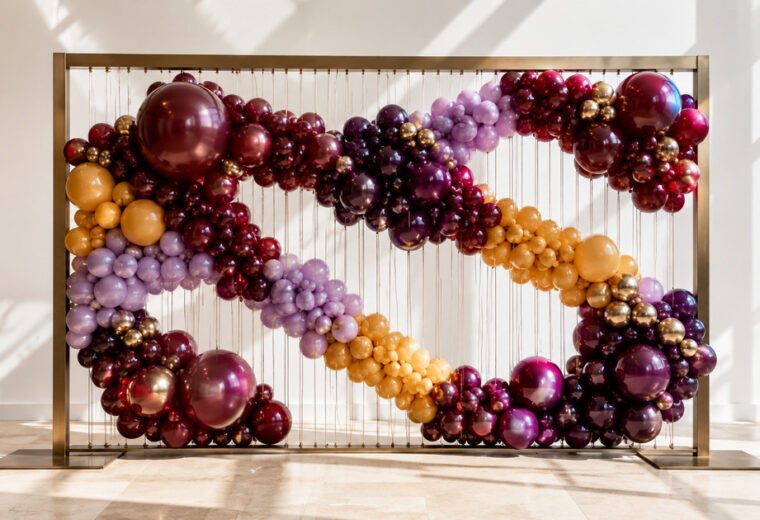
This Celestial Balloon Orbit Photo Wall replaces the ordinary full balloon arch with three overlapping metal circles, controlled bursts of color and generous negative space. Cobalt, orchid, soft peach, ivory and chrome silver balloons appear to travel around the rings, while the open center remains useful for portraits, a cake or a small product display.
Finished dimensions and balloon plan
- Overall footprint: approximately 10 feet wide × 8 feet high × 30 inches deep
- Ring sizes: approximately 7.2, 6.6 and 6 feet
- Clear portrait opening: at least 5 feet wide
- Build time: 3–4 hours after ring assembly
- Crew: two adults for ring placement and final installation
- Total balloons: about 165, plus a 10 percent reserve
Inflate approximately 14 balloons at 16–18 inches, 42 at 10–12 inches, 54 at 7–9 inches and 55 at 3–5 inches. Allocate about 30 percent cobalt, 25 percent orchid, 20 percent peach, 18 percent ivory and 7 percent chrome silver. Silver is an accent; too much will overpower the softer colors.
Essential supplies
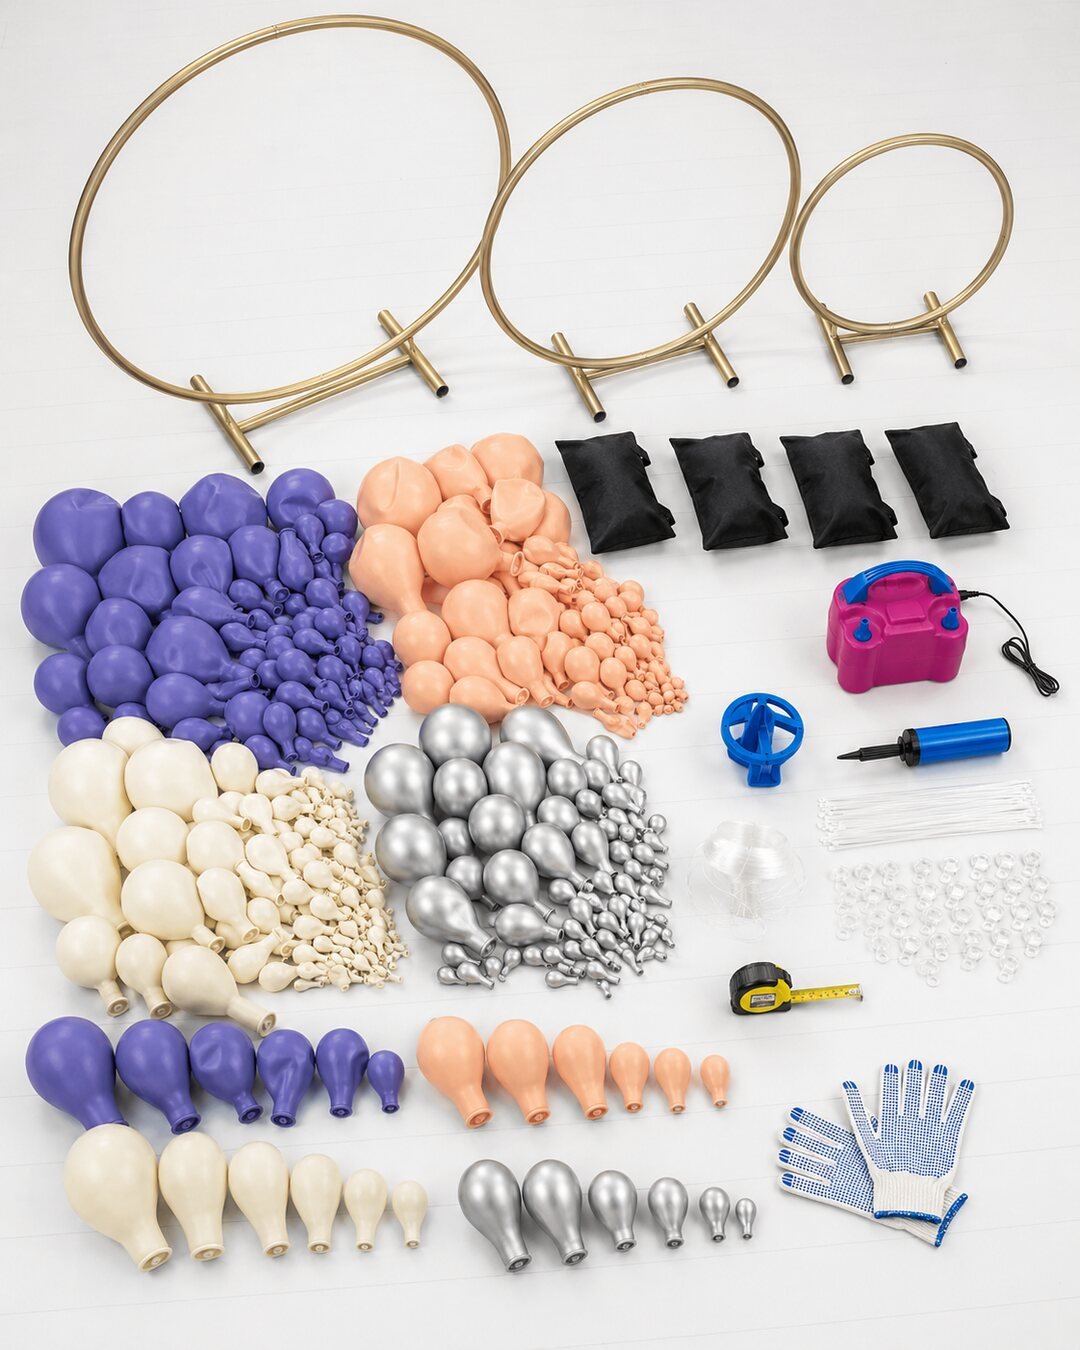
Set of Three Gold Metal Backdrop Rings
The three graduated freestanding arches create the overlapping orbit silhouette. Confirm the listing dimensions and follow the manufacturer’s assembly and ballast requirements.
Dual-Nozzle Electric Balloon Inflator
An electric air pump speeds up the base sizes. It provides air—not helium—so use a hand pump for delicate mini balloons and 260 ties.
Collapsible Balloon Sizer Box
Consistent base sizes keep the rings readable and prevent the clusters from becoming one heavy mass.
Mixed-Size Metallic Silver Balloons
Use only a few mirrored accents at cluster transition points to create the orbit effect without turning the wall into a solid metallic garland.
You will also need professional-quality latex balloons in the four base colors, black or clear 260 balloons, a hand pump, four sandbags or the frame maker’s specified ballast, reusable zip ties, clear monofilament rated for the intended load, scissors, measuring tape, painter’s tape, a clean tarp and work gloves. For custom frames or insured installation help, consult the Elegant Creators Vendors List.
Step 1: Mark the footprint and assemble the rings
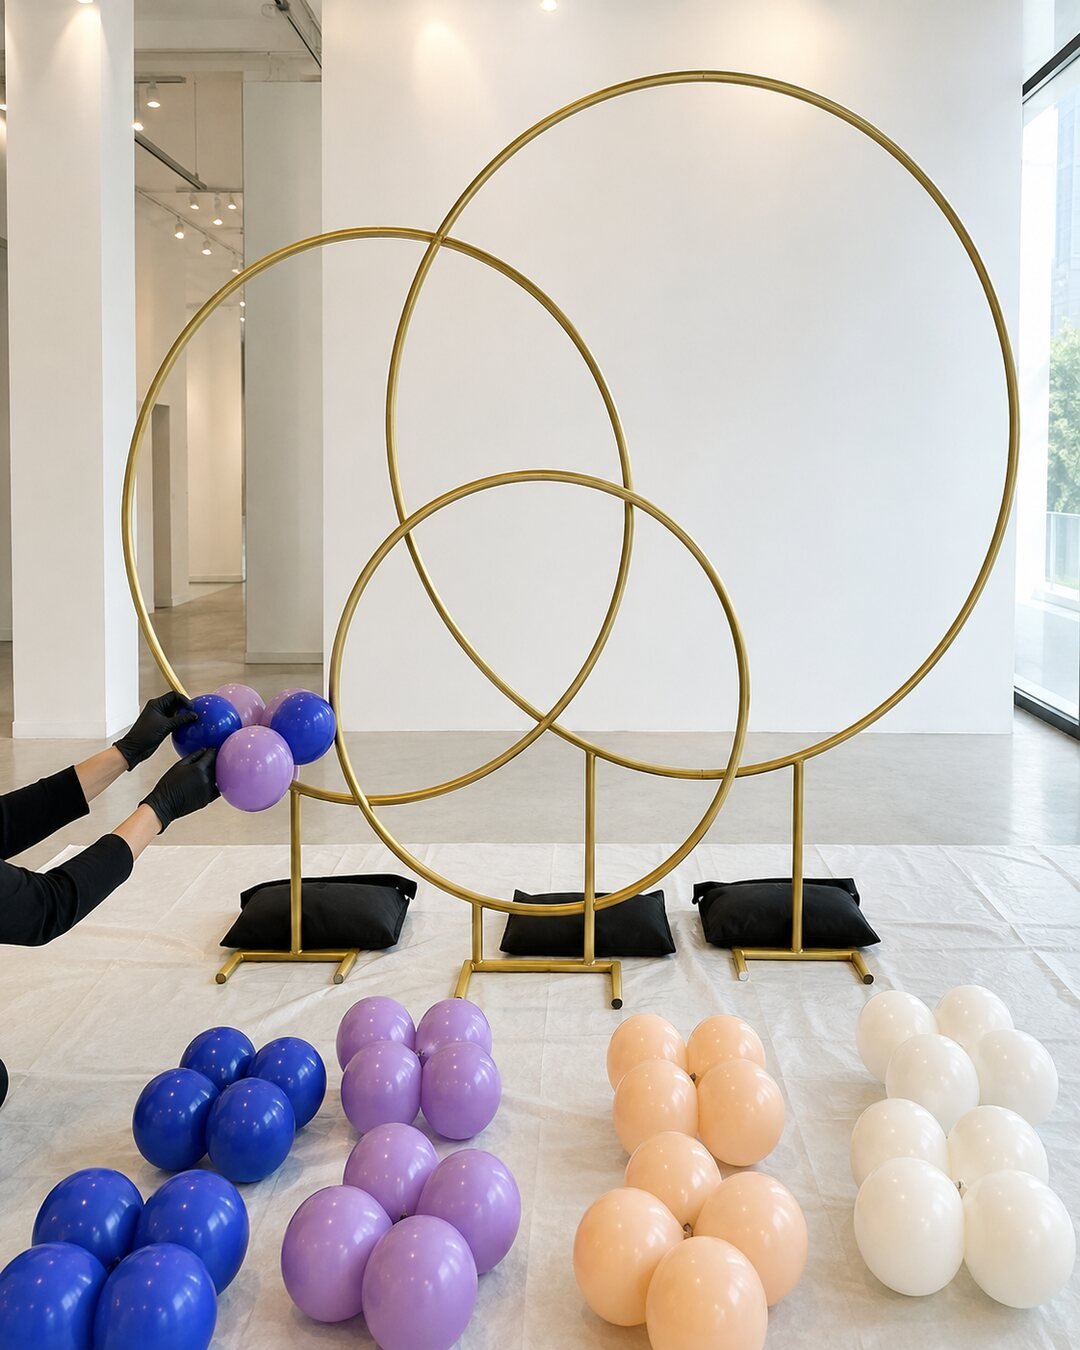
Use painter’s tape to mark a 10-by-2.5-foot footprint and a centerline. Assemble every ring on the floor according to its instructions, then raise it with one adult on each side. Position the tallest ring slightly left of center, the medium ring to the right and the smallest ring lower in front. Keep the central overlap open.
Ballast every base before adding balloons. Push gently from several directions and check that the feet remain flat. Never use balloon weight to hide a leaning or incomplete structure.
Step 2: Inflate by measured size
Inflate round balloons to round proportions; stop before they become pear-shaped. Make duplets, then twist duplets into quads. Keep most quads within one color family and introduce neighboring colors at transition points. Build the large 16–18-inch balloons individually so their placement can be controlled.
Step 3: Create three independent anchor clusters
Start with one cluster at the lower left, one at the lower right and one short cluster across the upper ring. Tie each quad to the metal with an inflated 260 rather than relying on glue dots as a structural connection. Wrap without crushing the latex or scraping the ring finish.
Step 4: Establish the orbit direction
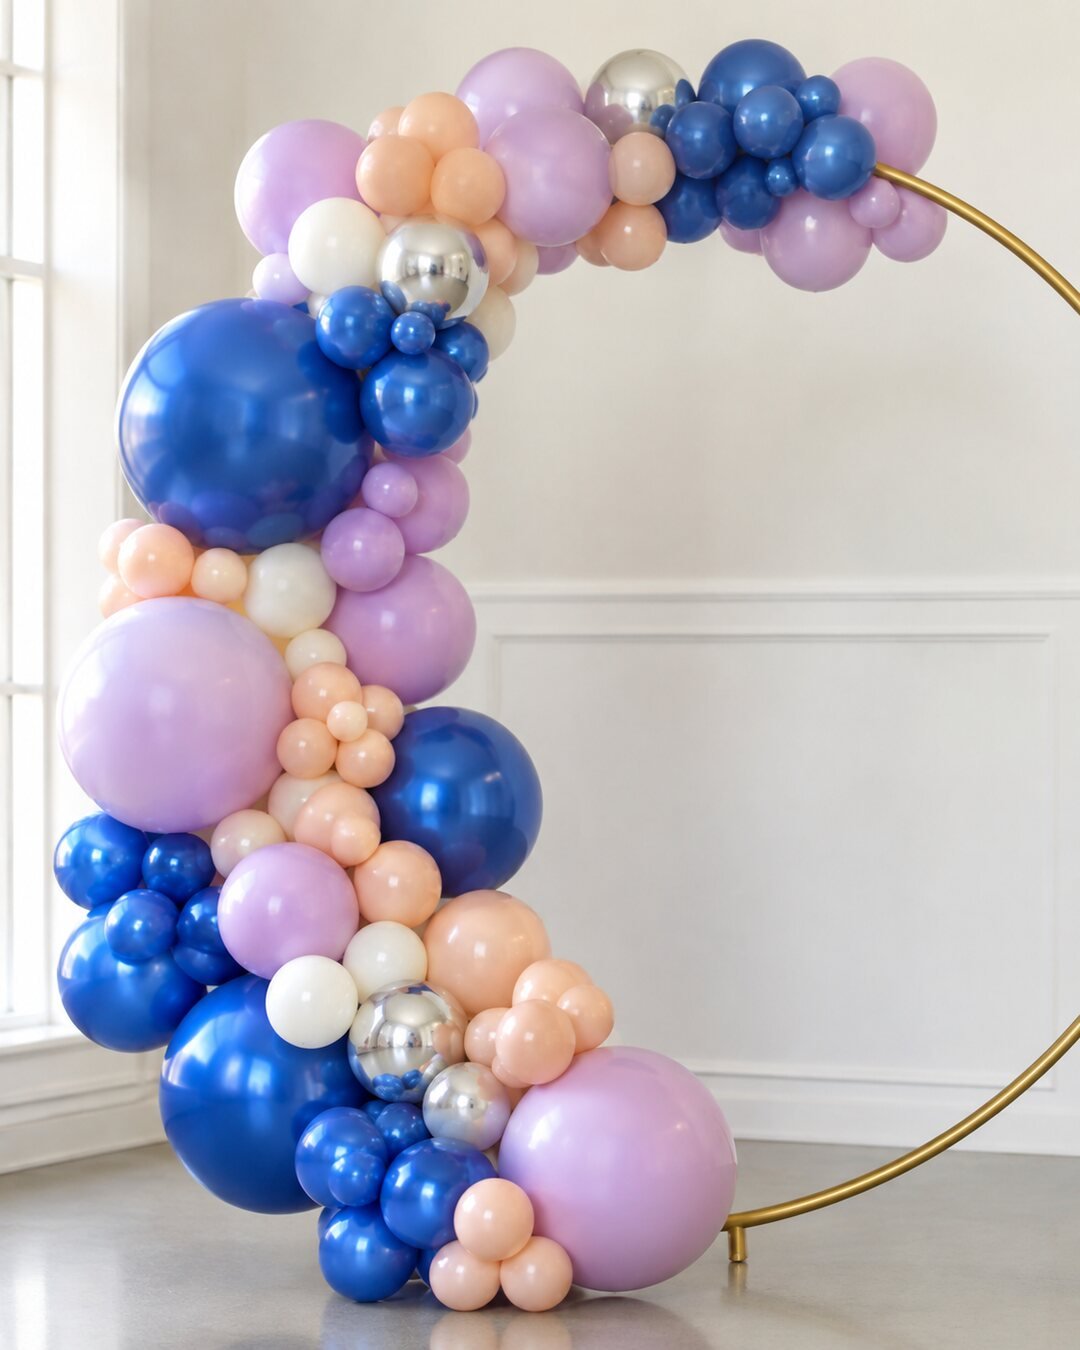
Let the lower-left cluster travel upward along the first circle, then stop before the upper overlap. Carry a shorter peach-and-orchid cluster across the top ring and build a heavier cobalt anchor at the lower right. The empty gold arcs are part of the design, not unfinished gaps.
Rotate large balloons toward the room, not into the wall. Place chrome silver only where one color changes to another. Step back 15 feet after every 20 balloons to keep the visual weight balanced.
Step 5: Add mini balloons and conceal mechanics
Add 3–5-inch balloons last with 260 scraps or other professional removable mechanics. Fill deep holes between quads, but do not cover every seam. Trim zip-tie tails flush and turn every connection away from guests.
Step 6: Test the portrait zone
Photograph one adult in the center and check that no ring appears to pass through the person’s head. Maintain at least 36 inches of guest clearance in front and keep every weighted foot outside the walking path. Remove mirrored plinths if they create a trip hazard.
Safety and venue checks
- Use indoor air-filled balloons; this design does not require helium.
- Follow the ring manufacturer’s load and ballast limits.
- Do not place near heat, sharp edges, sprinklers or emergency equipment.
- Use appropriate outdoor engineering and wind guidance; an indoor stand is not automatically safe outdoors.
- Keep latex away from guests with known allergies and remove broken pieces immediately.
- Have two adults move the completed structure; never drag loaded bases.
Troubleshooting
The design looks like a regular garland
Remove balloons from at least one-third of each ring. Rebuild three distinct clusters with visible gold arcs between them.
The silver balloons dominate
Reduce chrome silver to one or two accents per transition and surround each with matte or pearl colors.
The rings visually disappear
Move balloons toward the outer edges, uncover the intersections and reduce mini fillers. The metal geometry should remain obvious in photographs.
The base feels unstable
Stop decorating, remove the balloon load and rebuild the structure. Recheck the floor, hardware and required ballast. Never add improvised weight directly to a thin ring.
Budget and pricing guidance
Price the frame purchase or rental, balloons, inflation labor, preassembly, transport, installation, strike and replacement reserve separately. Include time for color testing and ring layout. Use the Elegant Creators calculator before quoting a client, and use the Vendors List when the structure or venue requires a fabricator or rental specialist.
Frequently asked questions
Can I make it smaller?
Yes. Use two rings around 6 and 5 feet, reduce quantities by about 35 percent and preserve an open center rather than shrinking every cluster evenly.
Can I use one balloon garland strip?
A strip can organize quads, but it should not be the only structural connection on a freestanding multi-ring installation. Secure separate sections to rated points with professional mechanics.
How far ahead can I build it?
Indoor air-filled latex installations are often prepared in sections ahead of time, but temperature, balloon quality and transport conditions matter. Test your chosen balloons and finish fragile minis on site.
Where should the cake go?
Use a separate stable table or plinth centered in front of the open rings. Do not attach a loaded shelf or cake platform to decorative metal unless the manufacturer explicitly rates it.
Keep creating with Elegant Creators
Share your scaled ring layout with the Elegant Creators community before inflating the full order. A successful orbit wall is defined as much by the gold space you leave visible as by the balloons you add.
Join the conversation
What do you think?
Share your thoughts, questions or experience with this design. We would love to hear from you.