A beautiful reception can still feel flat when every light source does the same job. The professional fix is not simply adding more fixtures—it is layering ambient light, table-level glow, and focused accents so guests can see comfortably while the design keeps its depth.
Best for: ballrooms, tents, lofts, community halls, and blank-canvas venues
Planning time: 60–90 minutes plus a venue walk-through
Installation time: about 2–4 hours for a medium reception
Skill level: confident beginner to intermediate
Example footprint: 40 × 60 feet with 12–16 guest tables
Design palette shown: sea-glass blue, champagne, ivory, pale apricot, and brushed gold
Start with the finished room
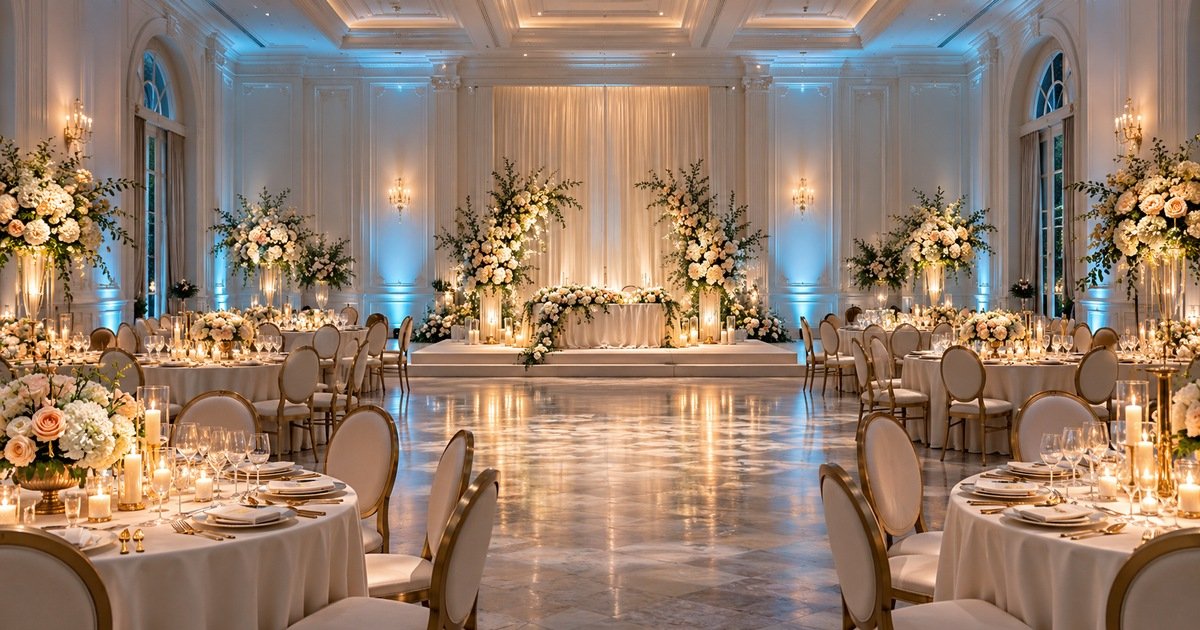
Map three lighting layers before renting anything
- Ambient layer: a soft wash around the room perimeter that changes the atmosphere without turning the venue into a nightclub.
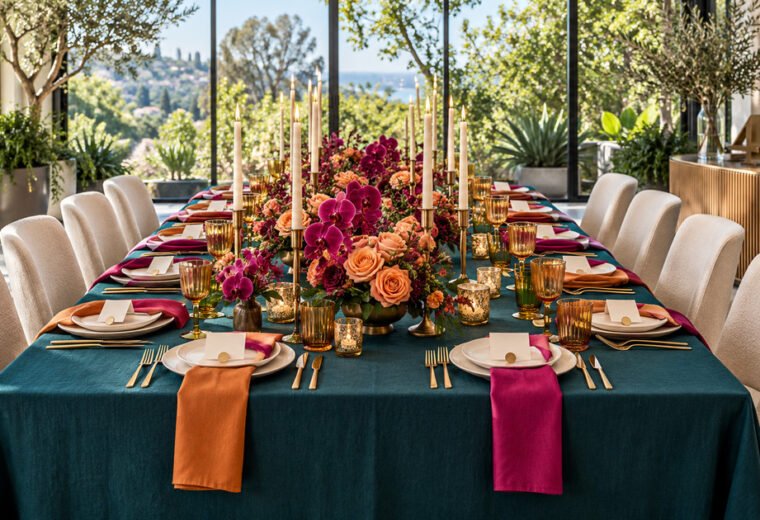
- Table layer: warm, flattering light close to guest height from flameless candles and existing chandeliers.
- Focal layer: controlled pin-spots on the sweetheart table, cake, florals, or stage so the important details do not disappear.
Draw the room to scale if possible. Mark doors, service paths, emergency exits, dance floor, tables, outlets, and any venue fixtures that must remain accessible. For a 40 × 60-foot room, begin by testing uplights approximately 6–10 feet apart rather than ordering by a fixed formula. Wall color, ceiling height, and fixture output will change the result.
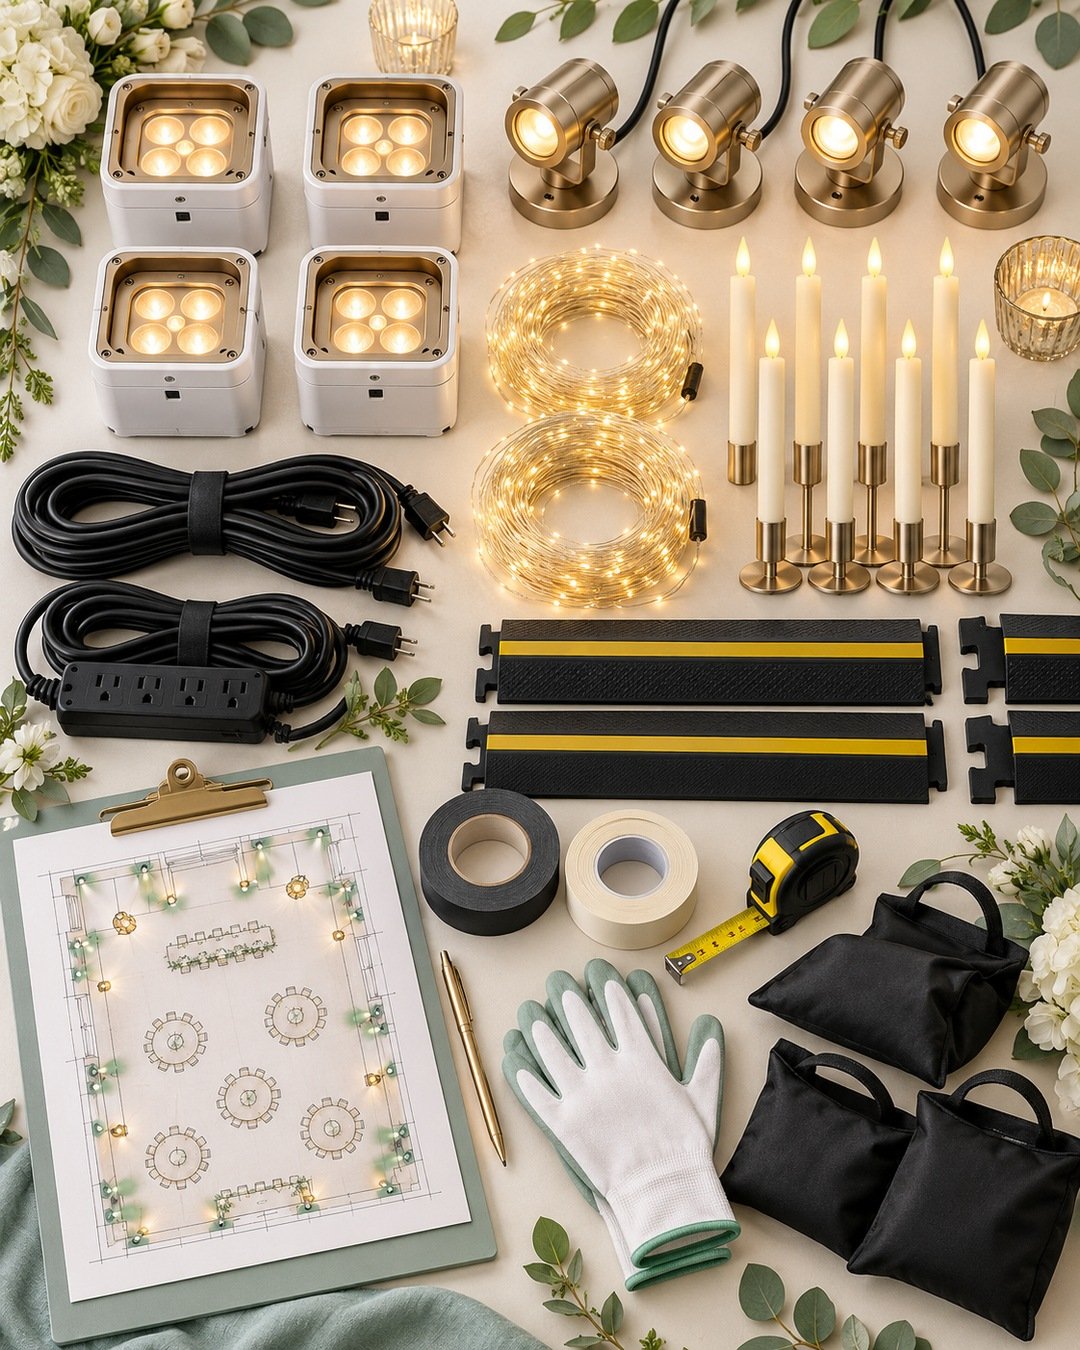
Supplies
Affiliate disclosure: Some links below are affiliate links. If you purchase through them, Elegant Creators may earn a commission at no additional cost to you.
As an Amazon Associate I earn from qualifying purchases.
Battery-Powered LED Uplights
Use these around the room perimeter where cords would create trip hazards. Look for adjustable intensity, stable bases, and a warm-white or subtle color-mixing option.
Click Here to Check Current Options on AmazonWarm-White LED Pin Spots
A narrow, controllable beam helps the cake, florals, or sweetheart table read clearly without flooding the entire room.
Click Here to Check Current Options on AmazonVenue-Approved Flameless Candles
Choose warm, steady or gently flickering LEDs in mixed heights. Confirm the venue’s candle rules even when the flame is artificial.
Click Here to Check Current Options on AmazonRemaining materials
- Lighting floor plan and fixture inventory
- Charged batteries, approved extension cords, and power strips
- Low-profile cable ramps or venue-approved cord covers
- Black gaffer tape for equipment only; never tape directly to delicate floors without approval
- Small sandbags or manufacturer-approved fixture weights
- Gloves, microfiber cloth, spare remote batteries, and a labeled charging station
Build the lighting plan in order
1. Photograph the venue under its existing light
Take wide photos from the entrance, stage, and service corridor. Note cool overhead LEDs, daylight spill, dark corners, reflective walls, and chandeliers that cannot be dimmed.
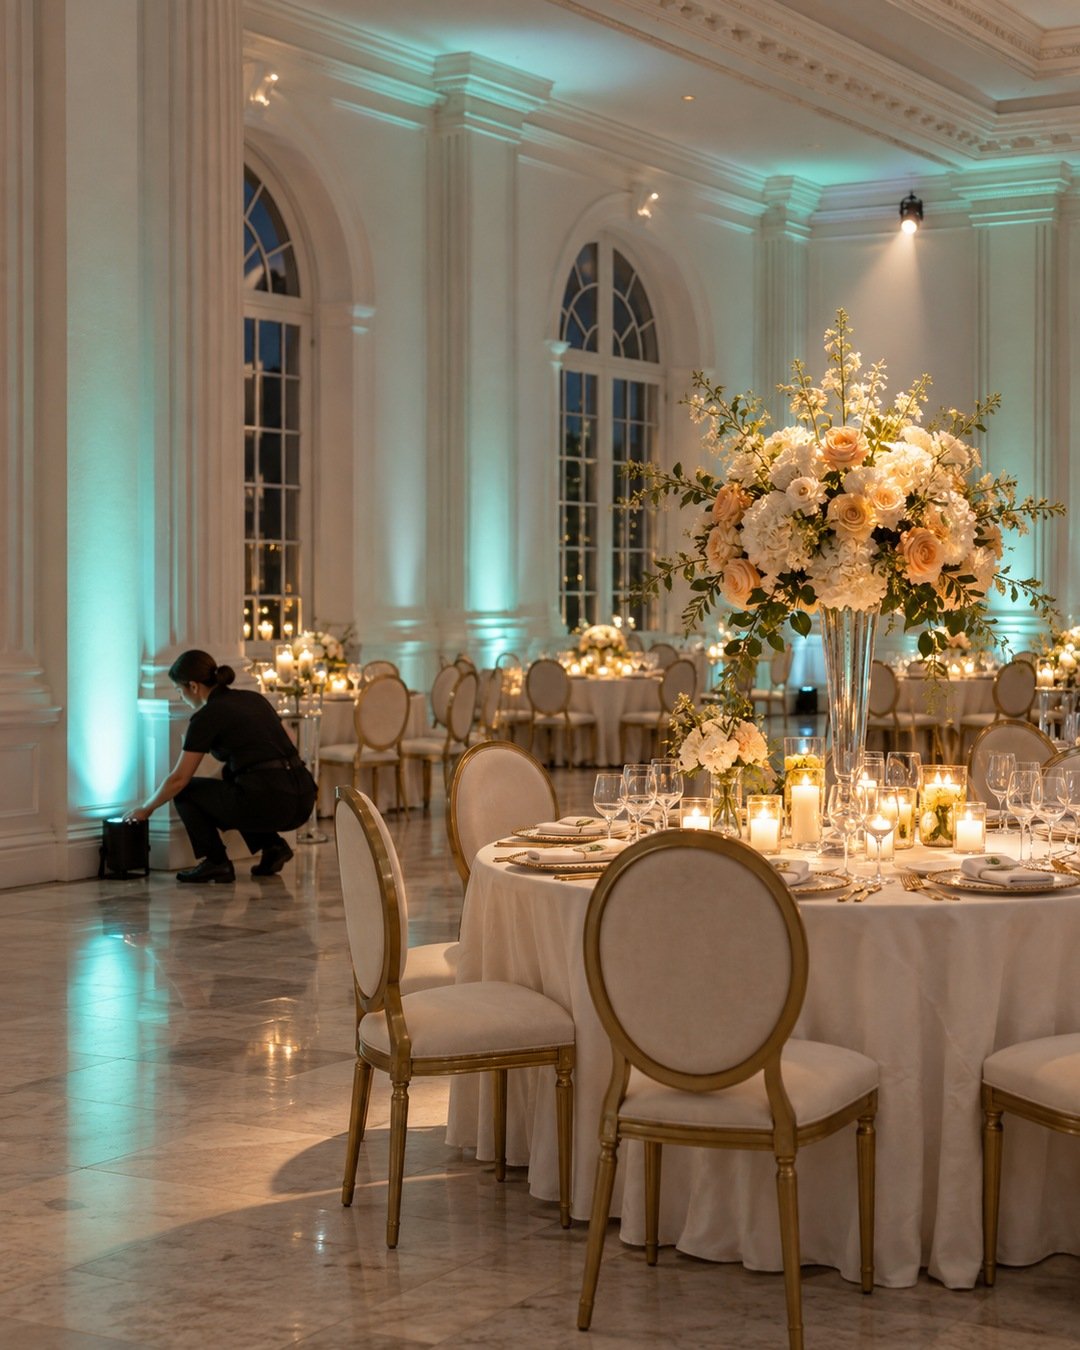
2. Establish the ambient wash
Place the first four uplights in the room corners, aim them vertically, and test at 25–40% intensity. Add fixtures between them until the wall wash feels rhythmic. Keep units clear of drapery, doors, and guest chair paths.
3. Add warm table-level light
Group flameless candles in odd-numbered clusters with varied heights, keeping sightlines open. Test each candle before placement and use protective bases beneath metal or rough holders.
4. Aim focal lights
Pin-spot only the elements that deserve emphasis. Start with the sweetheart table and cake, then decide whether tall centerpieces need help. Aim downward where possible so beams never hit guests’ eyes.
5. Protect power and walking paths
Run cables along walls or approved service routes. Cover every unavoidable crossing with a low-profile ramp. Never place a loose cord beneath a rug, across an exit, or where catering carts will roll.
6. Program the room in scenes
Create at least three looks: guest arrival, dinner, and dancing. The palette may deepen later, but skin tones and table details should still look natural in phone photos.
7. Complete a final camera and safety test
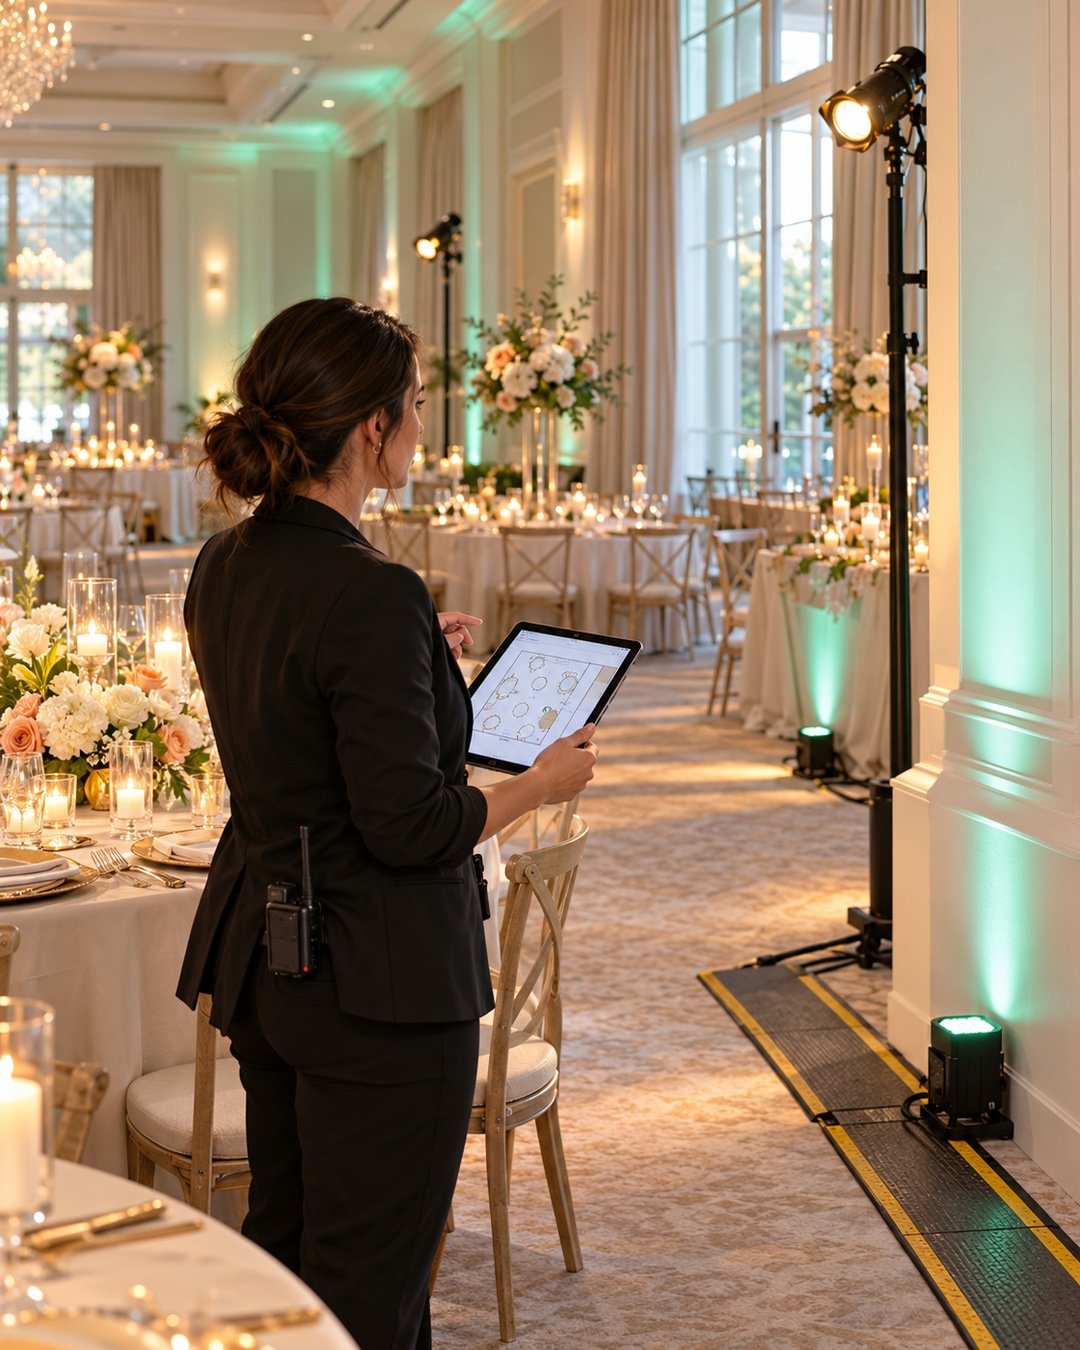
Photograph the room on a phone with and without flash. Walk every aisle, check fixture temperatures, confirm cables are covered, and assign one person to monitor battery indicators.
Optional upgrades
- A patterned gobo on the dance floor or ceiling
- Pin-spots for every tall centerpiece in a very dim room
- Warm micro lights inside approved clear structures
- A professional lighting technician for rigged, overhead, or DMX-controlled installations
Budget guidance without guesswork
Price this by layer, not by gadget. Ask the venue what is included, request itemized rental quotes, and compare rental against ownership only after considering charging time, storage, transport, maintenance, and backup units. If the budget is limited, prioritize safe ambient coverage and the two most photographed focal points before adding decorative extras.
Troubleshooting
- The room looks too blue: reduce saturation and bring warm candlelight closer to faces.
- Uplights create visible dots: increase distance from the wall or soften intensity.
- Centerpieces disappear: narrow and re-aim the pin spot instead of increasing every fixture.
- Photos look orange: verify all fixtures use compatible color temperatures.
- Battery levels fall quickly: lower output, rotate backup fixtures, and schedule a mid-event check.
Safety and venue protection
Obtain written approval for fixture placement, power use, rigging, tape, and floor coverings. Do not block exits, sprinklers, signs, vents, or service routes. Use only listed equipment in good condition, follow manufacturer clearances, and hire qualified professionals for suspended fixtures or venue electrical work.
Frequently asked questions
How many uplights do I need?
There is no universal number. Test spacing against the actual wall color, room size, ceiling height, fixture output, and desired rhythm.
Should reception lighting match the wedding colors exactly?
Usually no. A softened version of the palette is more flattering. Use color on architecture and keep faces and food in warm neutral light.
Can I use real candles?
Only when the venue and local rules allow them. Flameless candles simplify wind, wax, and open-flame concerns, but they still need stable placement.
Finishing checklist
- Room dimensions and outlets confirmed
- Venue approvals documented
- Ambient, table, and focal layers tested separately
- All batteries charged and backups labeled
- Cords covered and exits clear
- Fixtures aimed away from guests
- Arrival, dinner, and dancing scenes checked
- Phone-photo test completed
Quote the lighting work with confidence
Use the Elegant Creators pricing calculator to organize labor, rentals, delivery, setup time, and profit before you send the client’s proposal.
Explore the Elegant Creators Calculator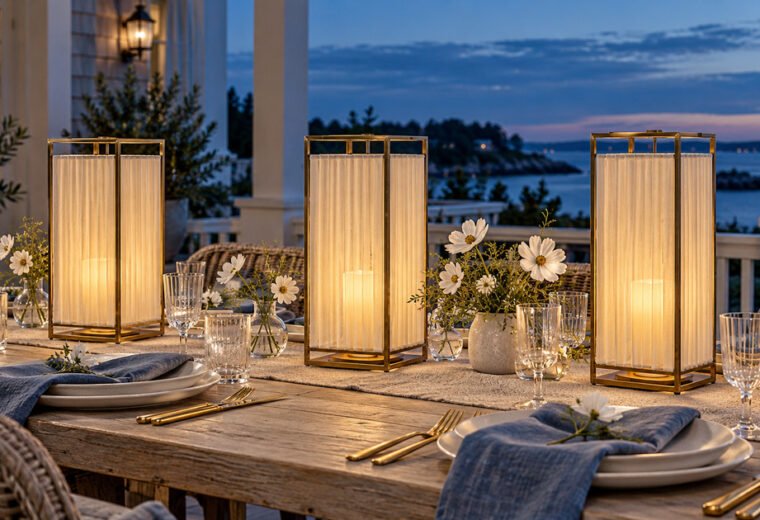
Join the conversation
What do you think?
Share your thoughts, questions or experience with this design. We would love to hear from you.