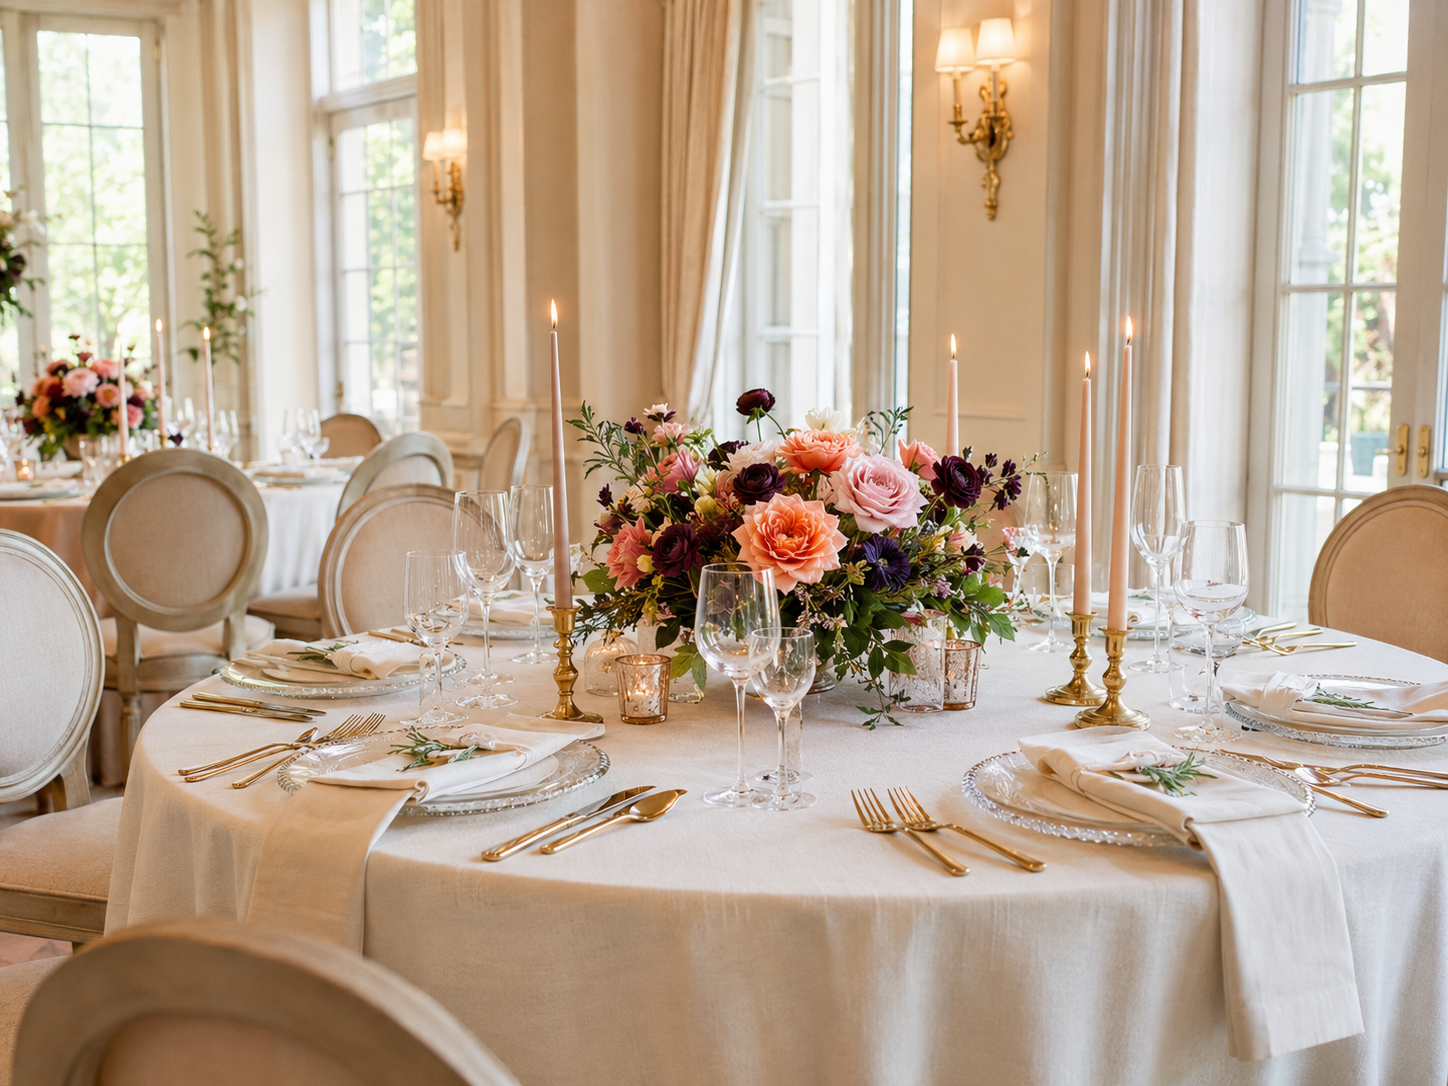
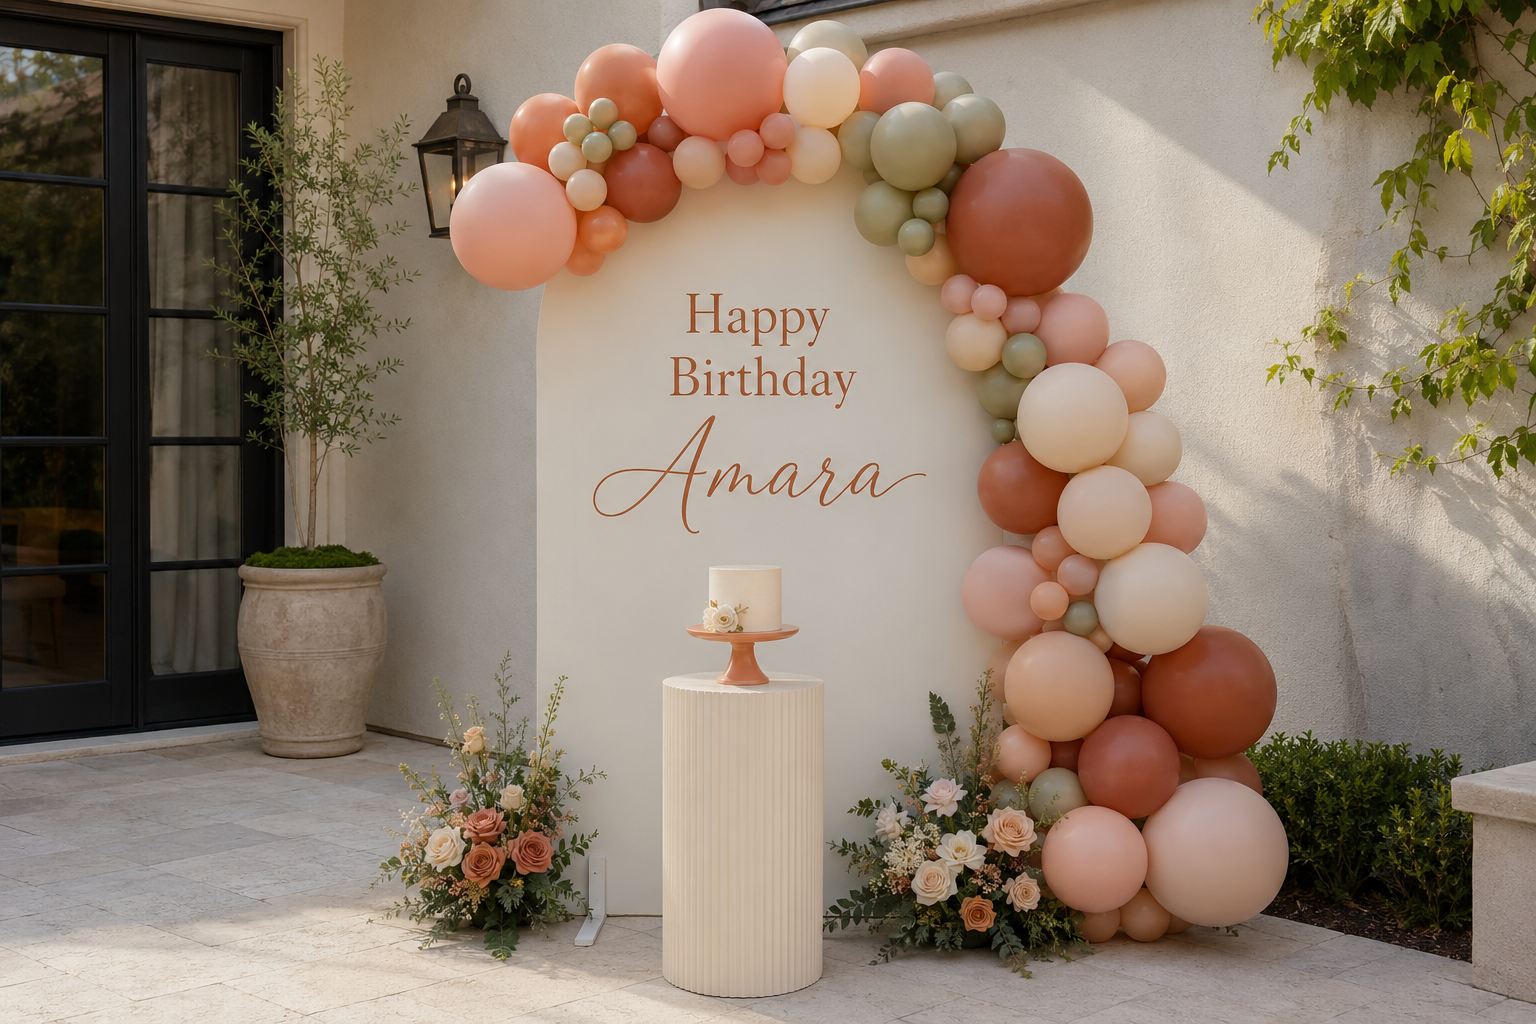
A polished balloon backdrop does not require a professional crew or an oversized installation. This design uses a freestanding cream arch, a controlled color palette and balloons in several sizes to create movement without making the scene feel crowded.
The same method works for birthdays, showers, anniversaries, graduations and intimate weddings. Change the colors and sign, keep the construction method, and reuse the main equipment for future events.
The design plan
- Finished size: approximately 7 feet tall and 5 to 6 feet wide.
- Balloon count: approximately 110 to 130 balloons.
- Palette: three core colors plus one restrained accent.
- Build time: allow 2 to 3 hours for a first attempt.
- Best location: a level indoor floor or shaded outdoor area protected from wind and heat.
What you will need
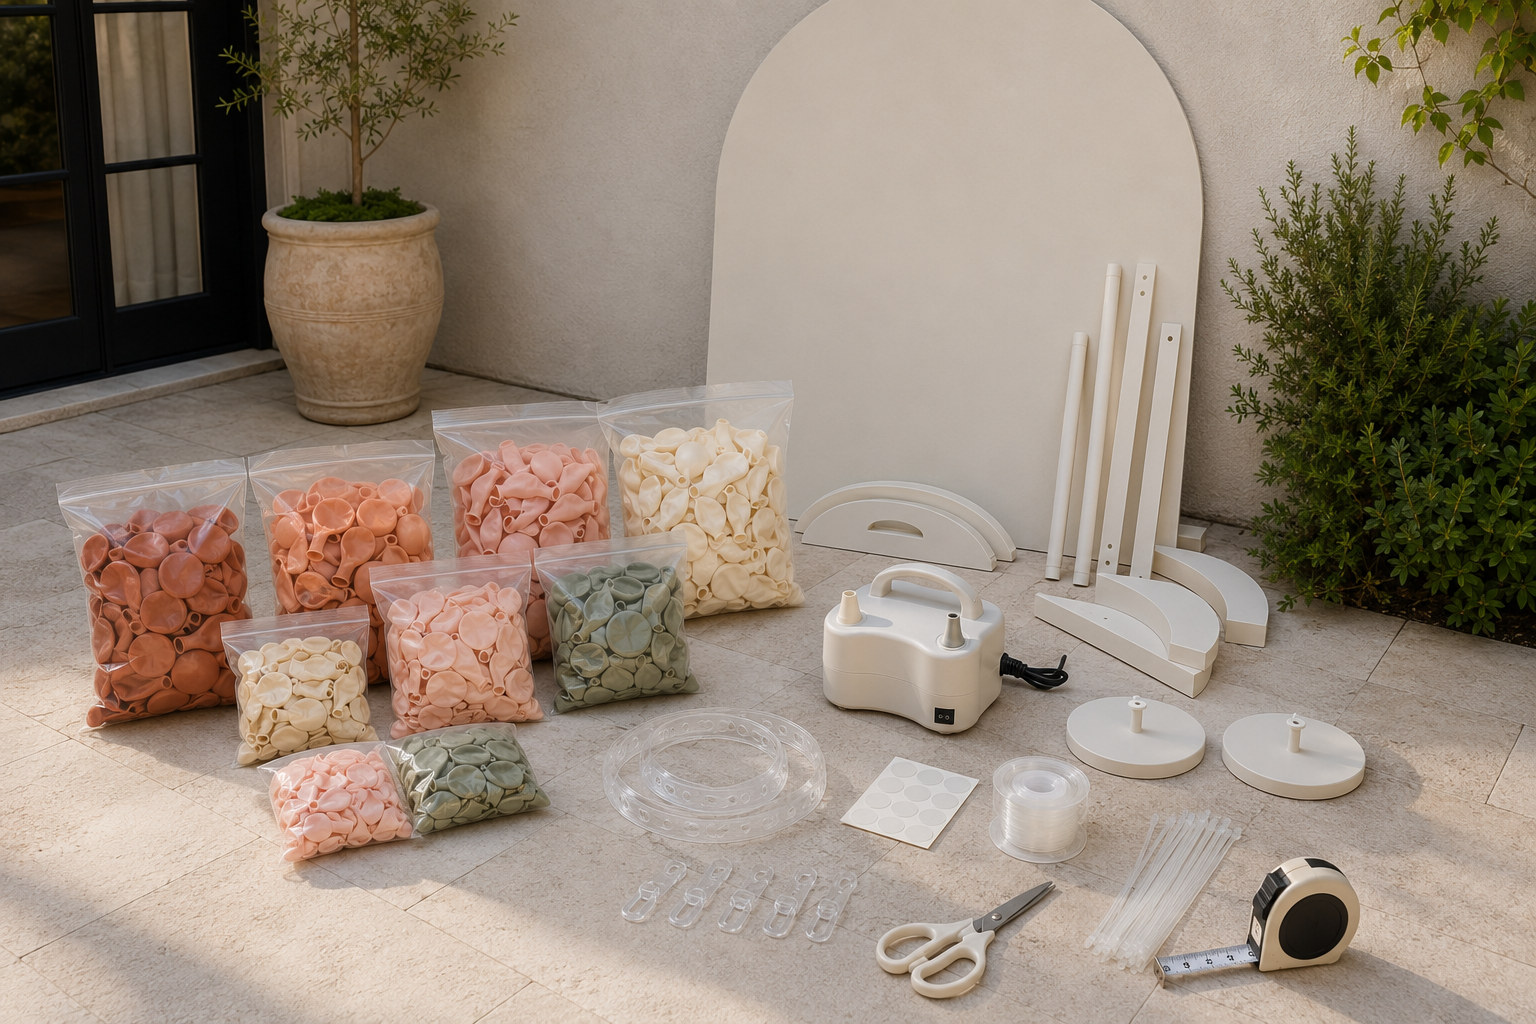
Click On Each Items To Grab it On Amazon
Electric balloon pump
A dual-nozzle pump makes inflation faster and helps you work consistently.
Mixed-size latex balloons
Plan for 5-inch, 10-inch, 12-inch and a few 18-inch balloons in three main colors plus one accent.
Balloon decorating strip and glue dots
The strip forms the main garland; glue dots secure small filler clusters.
Clear support supplies
Use fishing line, removable hooks and clear zip ties for dependable support.
Backdrop arch, weights and tools
A weighted freestanding structure is safer for delicate walls and outdoor locations.
Step-by-step instructions
1. Measure and test the backdrop
Assemble the stand on a level surface and add weights before decorating. For a seven-foot arch with an asymmetrical sweep, plan for roughly 12 to 15 feet of finished garland. Keep the installation away from doorways, grills, heaters, ceiling fans and sharp landscaping.
2. Sort and inflate the balloons
Separate balloons by color and size. A useful starting mix is about 50 percent 10-inch balloons, 30 percent 5-inch, 15 percent 12-inch and 5 percent 18-inch statement balloons.
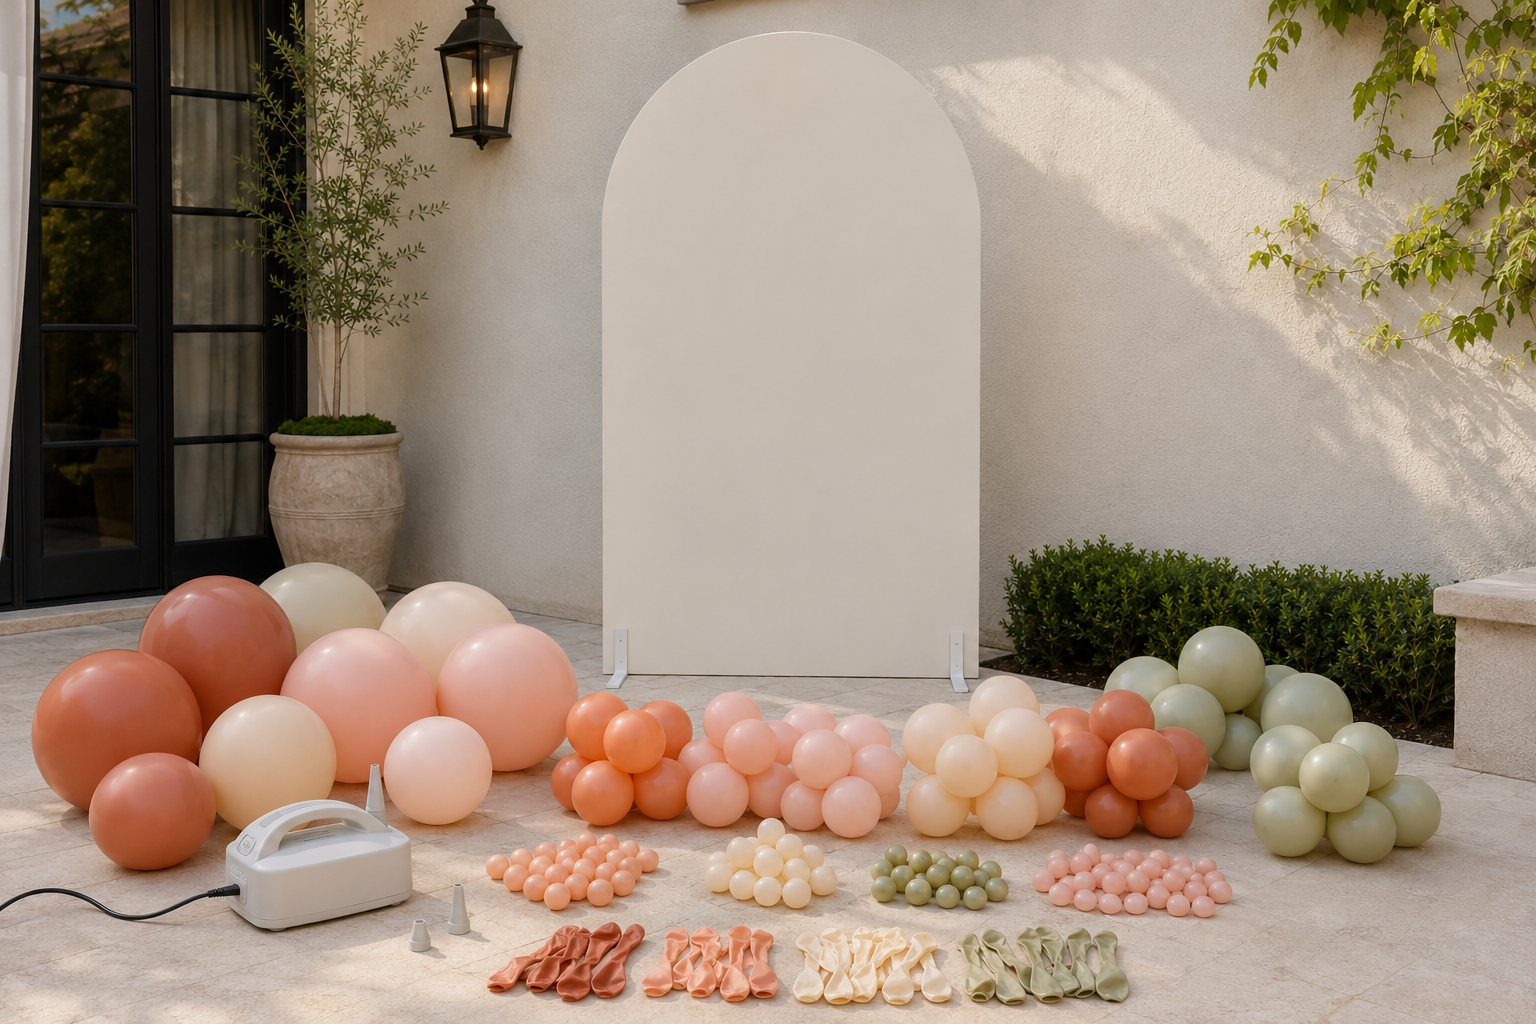
Inflate until each balloon looks round rather than pear-shaped. Let out a little air if the neck feels overly tight. Vary the finished sizes slightly and tie pairs together when convenient.
3. Build the base garland
Push balloon knots through alternating holes in the decorating strip. Rotate colors naturally instead of following a rigid pattern. Place the largest balloons around two or three focal areas and leave about 12 inches of empty strip at both ends for tying.
4. Attach the garland to the stand
Begin near the upper-left area, travel across the top and taper down one side. Use loose zip ties or fishing line at several support points. Tighten only after stepping back to check the silhouette. Glue dots should never be the primary support for a heavy garland.
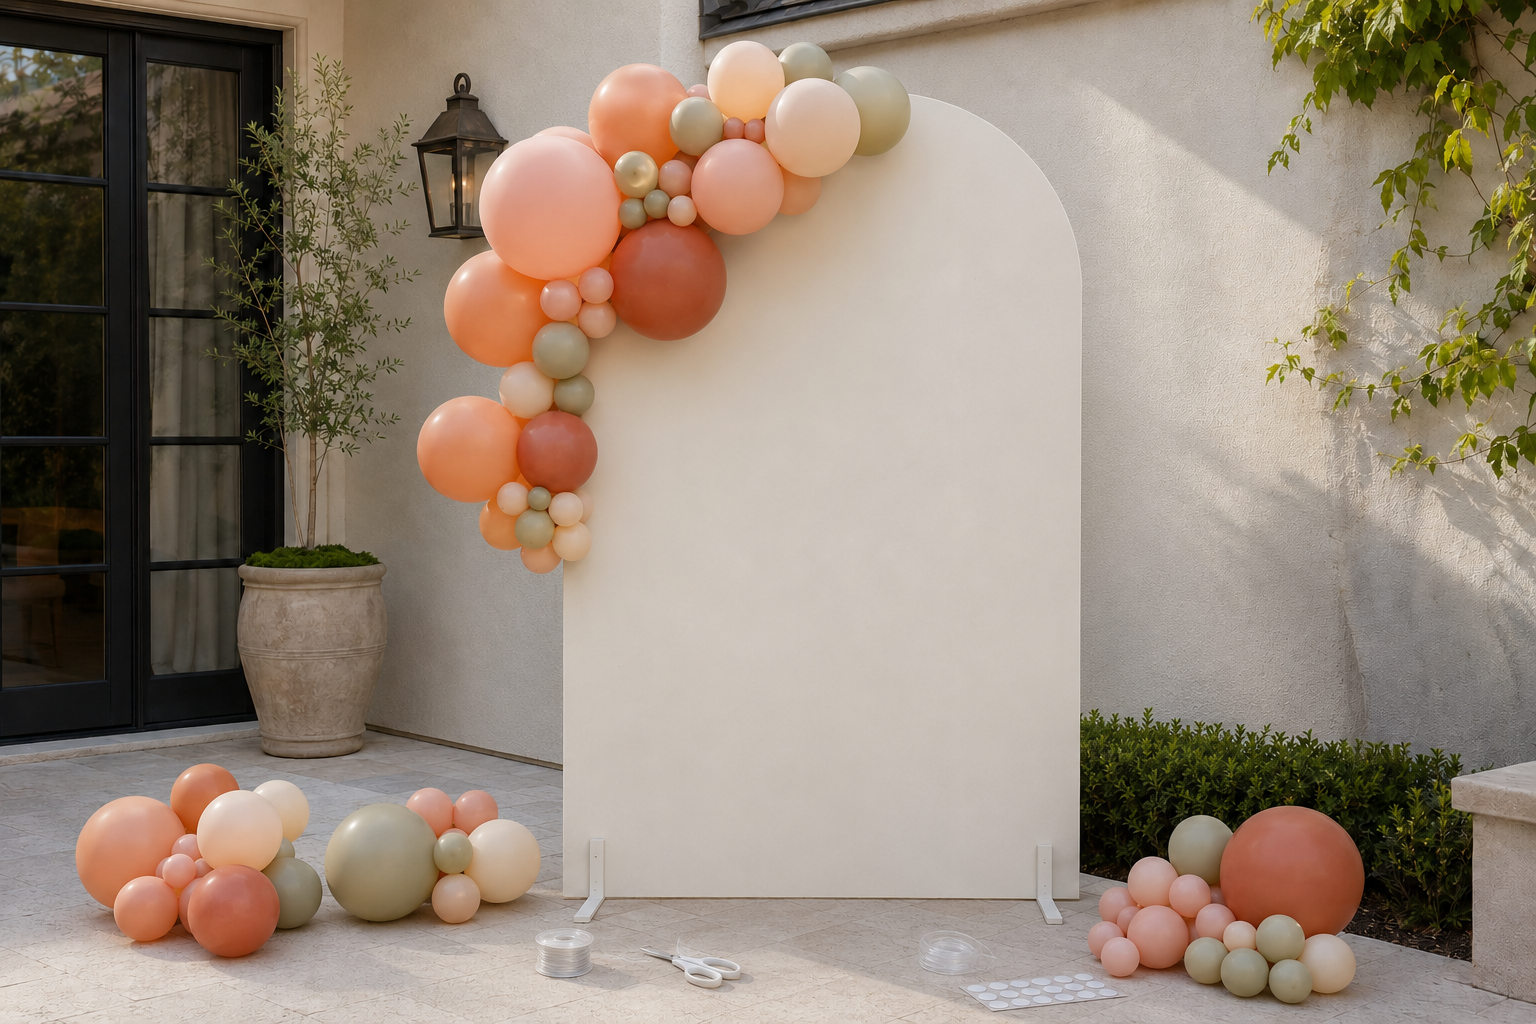
5. Fill the visible gaps
Make clusters of two or three small balloons and place them into openings with glue dots. Concentrate fillers around large balloons and connection points. Stop before every gap disappears; individual balloon shapes should remain visible.
6. Add restrained finishing details
Add one or two small faux-floral or greenery accents if desired. Secure stems to the frame with covered wire or ties, never sharp wire pushed toward balloons. A simple cake pedestal or sign can complete the scene without competing with the garland.
7. Photograph and inspect
Take a straight-on photograph and study it. A camera quickly reveals flat spots, exposed ties, leaning hardware or uneven color clusters. Correct only the distracting areas instead of rebuilding the garland.
Frequently asked questions
Do I need helium?
No. This design uses ordinary air. The decorating strip, clear line and weighted stand create the shape.
How far ahead can I make it?
An indoor air-filled garland can usually be prepared the day before and stored in a clean climate-controlled room. Install outdoor garlands close to event time.
Why does my garland look like a straight tube?
Add larger focal balloons, rotate the garland as it is attached and use small clusters to create depth on the front and sides.
Can I attach it directly to a painted wall?
Test removable hooks in a hidden location. For delicate paint, wallpaper, brick or venue restrictions, use a weighted freestanding frame.